Making your own kombucha is a breeze if you have the right tools for the job. Here are the kombucha supplies you actually need to brew and bottle your own DIY kombucha at home.
Essential Kombucha Supplies:
- Large pot for brewing tea
- Large glass brewing jar
- Fabric lid for brewing jar
- Silicone stirring utensil and ladle
- Small mason jars with self-sealing lids
There are a few reasons why these specific tools are required. And, you’ll also need some specialized ingredients (namely the SCOBY!). So, read on to learn more about the supplies you’ll need to get started brewing your own fermented tea.
Supplies and ingredients for kombucha brewing
If you’re going to try making your own kombucha, there is some essential kombucha equipment you will need. Thankfully, the list is pretty short, though! You might even already have what you need in your kitchen.
Stockpot and a large jar
The first piece of cooking equipment for making kombucha is a large stockpot for brewing a large volume of tea. I have always used a stainless steel pot for brewing the tea, which has worked well.
A french oven would also work. If you don’t have a large pot, find a big heat-proof bowl for brewing the tea and just boil multiple kettles of water.
Once the tea has been brewed, the sweetened liquid will be transferred into a large jar for fermenting. It will be in this jar for a while, so it’s nice to have a pretty jar if possible.
I like to use a 1 Gallon Glass Jar. If I want more kombucha, I just use two jars (and then I can make two different flavors!). Ceramic brewing carafes are also great, but be sure to check that the glaze is non-toxic.
A lid for the jar
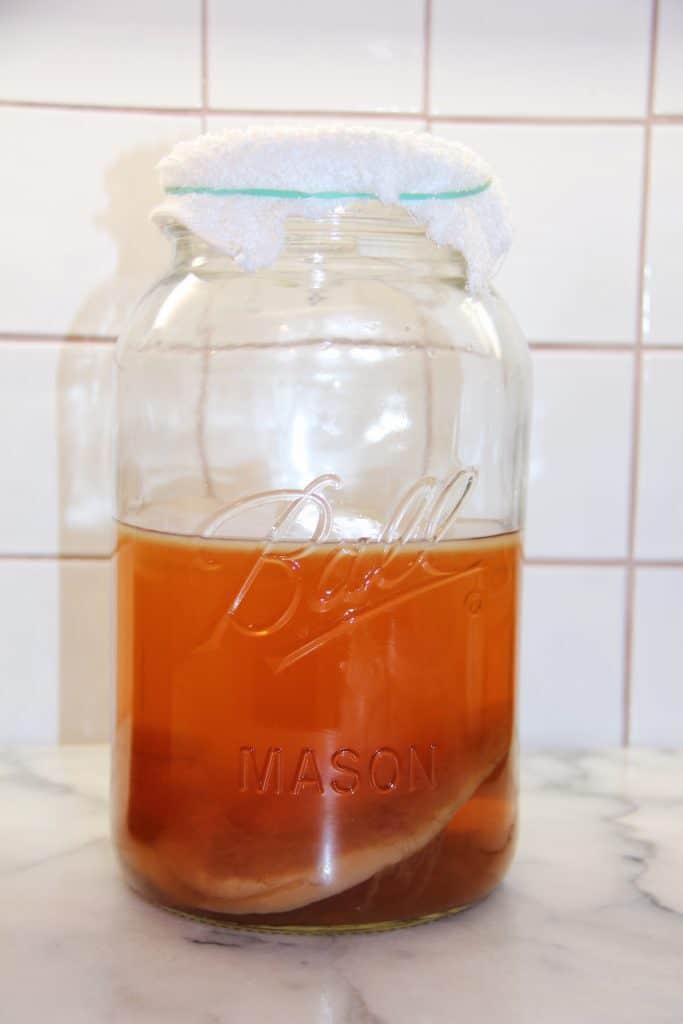
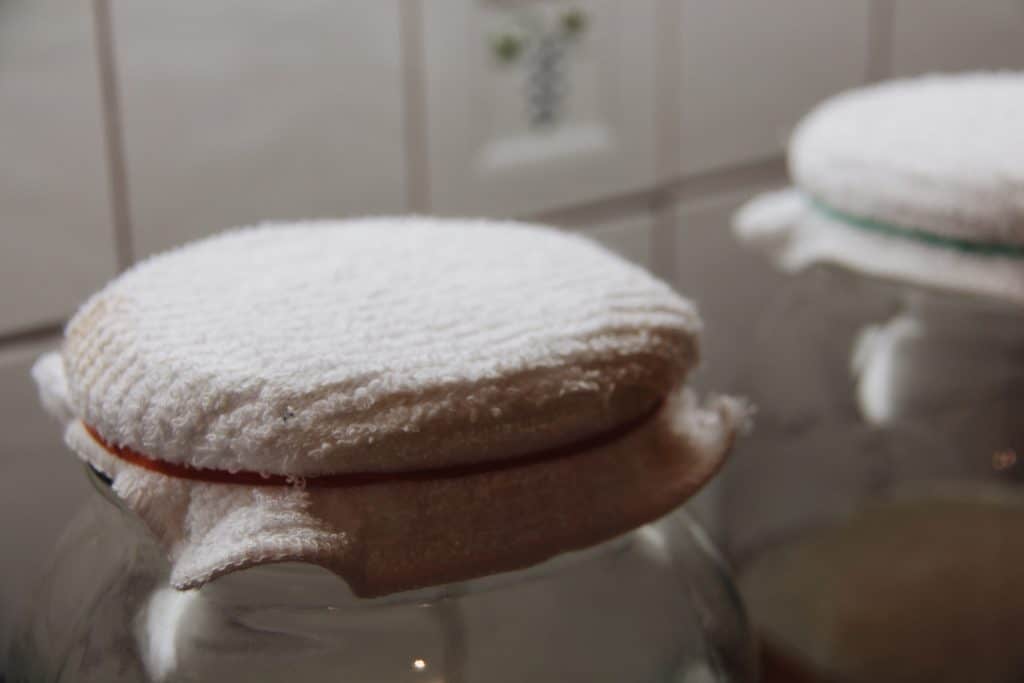
Once your fermenting jar is full of brewed tea, it needs to be covered to keep out creepy crawlies and other contaminants. Some jars marketed specifically for homemade kombucha will come with their own elastic fabric lid.
A thin cloth with an elastic band will also work, as long as the fabric has a very tight weave (use a coffee filter in a pinch). Just ensure the fabric is tightly secured onto the jar with the elastic.
Utensils
I use silicone utensils for my kombucha brewing toolkit, but a plastic spoon and ladle would also work. I’ve been advised against using metal utensils, but I’ve had to metal them in a pinch, and nothing went terribly wrong with the batch.
Jars with self-sealing lids
The final essential supply for brewing your own kombucha is a collection of glass mason jars with self-sealing lids. Mason jars come in many sizes, so try a few and see which serving size you prefer.
Also, consider your fridge storage space and whether you’ll drink the kombucha straight from the jar or will use a cup instead.
If you’re starting from scratch, it may be cheaper to buy the supplies altogether in a starter kit.
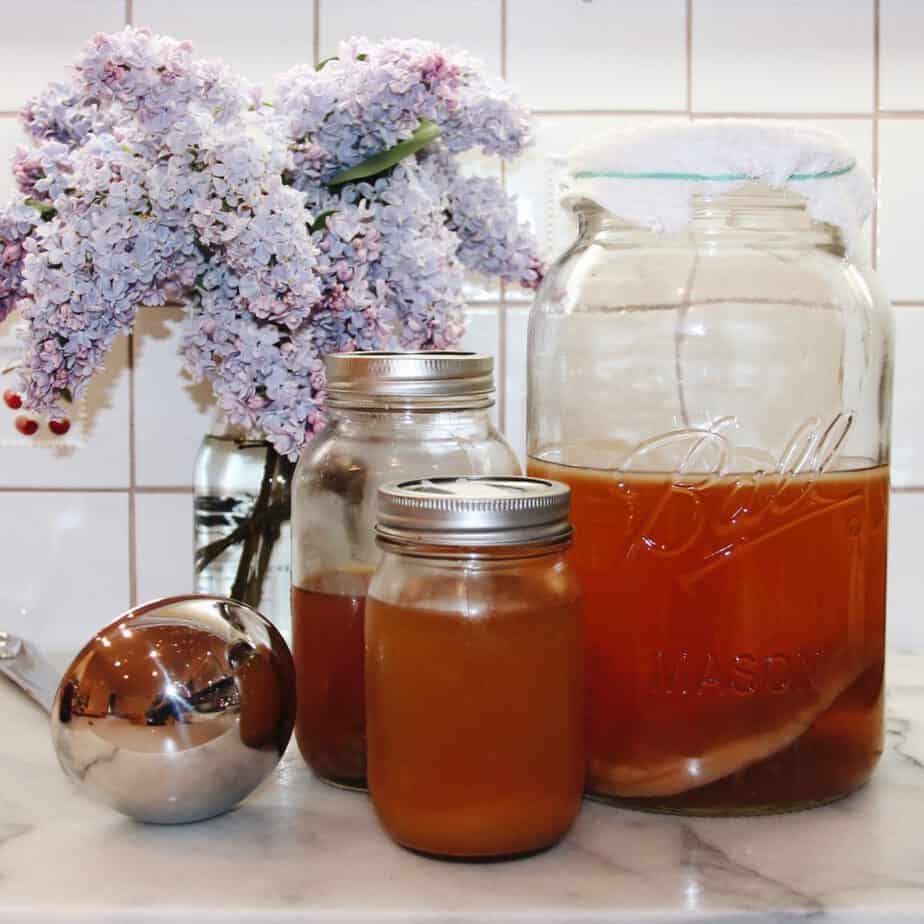
Ingredients for 1 gallon of homemade kombucha
In addition to the cooking equipment listed above, there are also essential ingredients for brewing homemade kombucha. Use high-quality ingredients whenever you can, and if you find something you really like…stick with it.
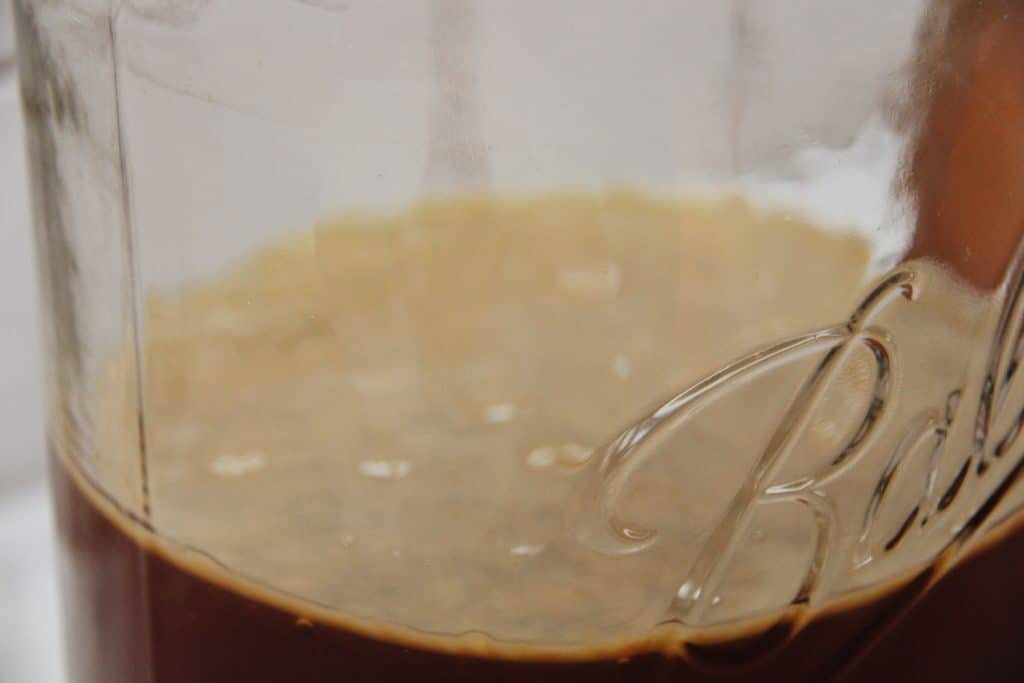
Kombucha SCOBY
The key ingredient for kombucha is the SCOBY (or the “kombucha culture”). The SCOBY, short for “symbiotic culture of bacteria and yeast,” is a thin slimy little mat made of living organisms. Sounds delicious, right?
To be honest, the SCOBY can be pretty nasty at first. It feels a bit like a raw chicken breast that’s shaped like a pancake. Get a good SCOBY from a reputable retailer or someone you trust.
The SCOBY is not the place to cheap out! If you just can’t find a good one locally or on the internet, it is possible to grow your own kombucha SCOBY from store-bought kombucha. It takes about 3 weeks to grow kombucha culture from an existing batch.
Raw kombucha
Related to the SCOBY, the next important ingredient is a cup of raw kombucha from a previous batch. This will be easy once you’re used to brewing, but for your first batch, you’ll need to find a cup of kombucha.
This can totally be store-bought kombucha. Since a SCOBY should be stored in a bath of kombucha, many people find that their new SCOBY comes with enough liquid that it’s unnecessary to get more just to get started.
Sweet tea
Then you’ll need the ingredients for the sweet tea. For one gallon of kombucha, I use about 14 cups of filtered water, 8 tea bags of organic black tea or green tea, and one cup of granulated organic sugar. Amounts are approximate but should be roughly measured.
*I’ve heard mixed reviews about whether or not you can use earl grey because of the Bergamont. After some research online, it seems like it’s alright to use, but I haven’t tested that yet.
You can also use loose tea if you want, but you’ll need to measure it out!
*If you are using loose leaf tea, know that there are 1.5-3 grams of tea in every packet.
Flavor
Lastly, it’s nice to flavor your kombucha for the second fermentation. This is one of the best parts of making homemade kombucha – You get to decide the flavor!
Sweet ingredients with a bit of sugar work exceptionally well. Acidic ingredients like citrus are ok, but only in small amounts. Try your favorite fruit juice, ginger, berries, or other naturally-sweet liquids to create yummy kombucha flavors!
Other supplies for brewing kombucha at home
I also use the following household supplies as part of brewing kombucha.
- Sanitizing spray for cleaning the kitchen countertop
- Dishwasher with a Sanitize setting for the cooking equipment
- A clean dish to place the wet SCOBY on while working
You’ll notice a theme here… Keep everything super clean! We want the good bacteria from a healthy SCOBY, but not potentially harmful bacteria lurking in your kitchen.
Again, if you plan on making a lot of kombucha, you may want to find a kombucha shop and get a kit!
Why get the supplies and brew your own kombucha?
One drawback to buying kombucha is the price. It can be anywhere from $4 – $8 a bottle in my neck of the woods. I’m sure it’s even more in the big city. On the other hand, it’s super easy to start brewing it at home because you don’t need many supplies.
Fortunately, it’s also easy to brew at home! Homemade kombucha is delicious and spares the extra cost of store-bought drinks. As usual, the homemade stuff is just yummier, feels healthier, and is much more “real” somehow.
Another bonus is that you know exactly what’s in your homemade kombucha and the quality of each ingredient. That is empowering. The jar of homemade kombucha brewing on your countertop will also be a conversation starter with anyone who hasn’t seen a SCOBY before!
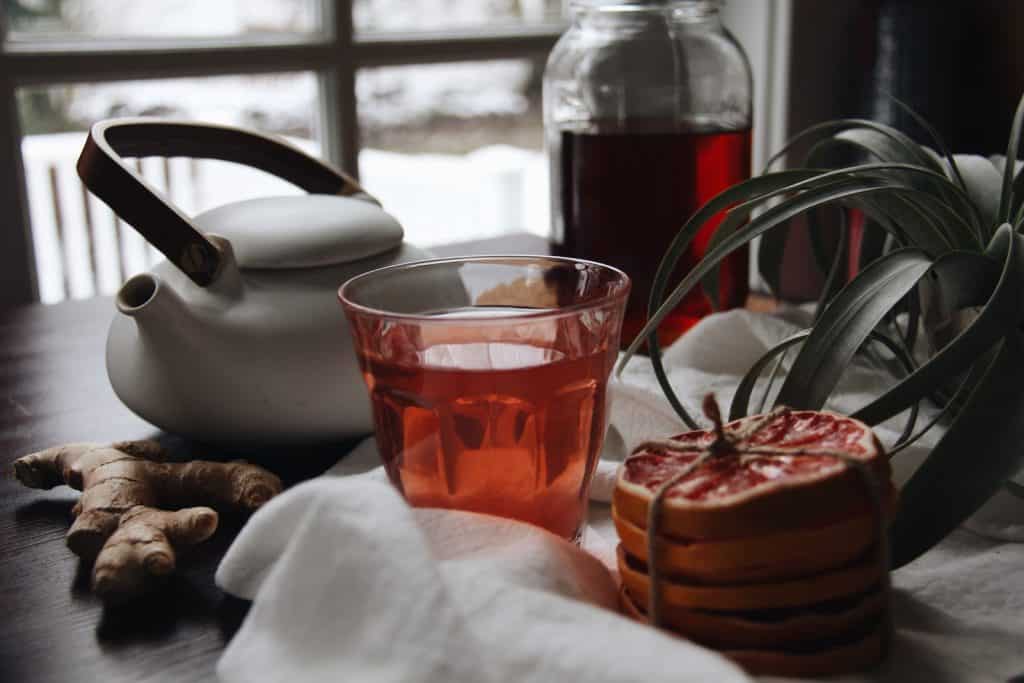
Step-by-step instructions for brewing kombucha at home
- Clear, clean, and sanitize your workspace (countertop, sink, et cetera). Cleanliness during Kombucha brewing is SUPER important. Germs + kombucha = yucky.
- Sanitize all supplies in the dishwasher on the sanitize setting.
- Boil the filtered water in a large pot.
- Add the tea bags and sugar to the boiled water. Stir until the sugar is dissolved.
- Allow the tea to cool (cover if it will be left unattended to keep out fruit flies).
- Remove tea bags and any bits of tea leaves that have escaped the bags.
- Transfer the cooled sweet tea to the 1-gallon glass brewing jar.
- Pour in the existing kombucha liquid that accompanied the SCOBY.
- Place the SCOBY in the jar (use your hands, just make sure they are super clean). The SCOBY may sink to the bottom. That is perfectly ok. A new one will form on the top.
- Cover the jar with a cloth and secure it with a rubber band. The cover will let in air but keep out fruit flies.
- If you are very handy with sewing, you can sew a cotton cover with an elastic sewn right in. Just be sure that the fabric weave is tight enough to keep fruit flies out and that the elastic makes a good seal.
- Fruit flies will lay eggs in the kombucha if given a chance, and then the brew will be full of tiny little fruit fly baby worms…. Disgusting. Keep everything very clean and sealed to prevent this. Excellent sanitation practices are vital when brewing your own kombucha.
- Put the jar in a warm kitchen area, at least a few feet away from the stove and/or other fermenting items. Sometimes I cover the entire jar with a cloth to hide it.
- Let the kombucha sit on the counter for approximately 2 weeks.
- If the brew is only one week, the kombucha will be sweeter. If it is left for a month, it will be tart and vinegar-y. Experiment and decide what you like. Timing is approximate (like many calculations in kombucha brewing).
- The batch of kombucha is ready at this point, or you can do a second fermentation:
- Decant most of the kombucha into small mason jars or bottles, so each jar is about 2/3 full.
- Leave the SCOBY aside with 1 cup of kombucha for the next batch.
- Fill some of the remaining room in each small jar with fruit juice or another sweet flavoring. Be sure to leave 1/2” of air at the top of the jar.
- Tighten the lid of each small jar very tight (this will make the drink fizzy later on).
- Leave the small jars on the counter for approximately 3 days to ferment.
- Place the small jars in the fridge to chill.
- The small jars should now be slightly carbonated and should fizz like soda when opened! (If they don’t fizz, it is ok, just tighten the jars more tightly next time. If your house is cool, you may have to leave the closed jars on the counter for up to a week).
Always inspect your homemade kombucha thoroughly before drinking. Do not consume the kombucha if there are any signs of contamination, including mold or insects. When in doubt, throw it out (SCOBY and all).
Further tips on kombucha supplies and ingredients
These instructions are for 1 gallon of homemade kombucha. The recipe can be sized up or down if you have a smaller/larger container. Note that ingredient volumes are an approximate guideline, but you can change it up later on.
The kombucha should be healthy if the SCOBY is healthy and your workspace and supplies are sanitized. The scoby should never have mold on it. A new SCOBY should form on the top of the brew during each batch (or the existing scoby will become thicker as the brew ages). If you ever observe signs of mold on your SCOBY, throw out the kombucha and SCOBY, sanitize absolutely everything, and start again from scratch.
The kombucha culture should never be frozen, boiled, or left in a hot environment such as direct sunlight. Room temperature (out of direct sunlight) is best. Refrigeration is ok if the fridge is on a warmer setting. If things sometimes freeze on the shelves of your fridge, it is probably too cold for SCOBY storage. Extra SCOBYs can be stored in another jar on the counter with a bit of kombucha and a touch of new sweet tea (a SCOBY hotel!).
According to the lady who taught me to brew kombucha, the SCOBY apparently “does not like steel.” I have not yet investigated the underlying reasoning for this, but I try using plastic, silicone, or glass when handling the SCOBY.
Related Questions
What does kombucha taste like? Kombucha tastes like a combination of soda water, iced tea, and fruit juice. My favorite flavor is green tea with ginger…. It tastes like a carbonated ginger ale and iced tea. Kombucha makes a great replacement for pop/cola. I love pop but am generally happy to have a kombucha instead.

Leave a Reply