
What is the best insulation to keep ice from melting? That question turns out to be a surprisingly engaging science experiment for kids of almost any age. This activity asks children to think like engineers. They design their own insulator, test it, and compare the results. The best part is that you probably already have everything you need at home.
This experiment is one of three heat-related activities covered in our post on what melts ice the fastest. If you have not tried that one yet, it pairs really well with this challenge.
Why this experiment works so well for kids
This is a design-and-test challenge, which makes it different from a typical science experiment where kids just follow steps. Here, children have to make real decisions. They choose their materials, set up their test, and interpret what happens. That kind of thinking builds real scientific reasoning, not just procedure-following.
The experiment also takes time, which means kids get to check back in and observe change as it happens. That slow reveal is part of what makes it memorable. For more ideas like this, the science for kids section of the blog has plenty of activities worth bookmarking.
A quick note on heat energy
Before you start, it helps to understand what the experiment is actually testing. Heat energy moves in three ways. Conduction happens when two objects touch and heat passes between them. Convection happens when molecules move through a liquid or gas, carrying heat with them. Radiation happens when heat travels as electromagnetic waves, like sunlight warming your skin.
When we insulate something, we slow down that heat transfer. A good insulator creates a barrier that keeps the cold air in and the warm air out. That is exactly what a cooler does, and it is exactly what your child will be trying to do on a much smaller scale.
What you need
The materials for this experiment are intentionally flexible. The goal is for children to choose their own insulating materials and test whether their design actually works. You need enough ice cubes to have one in each container, plus one extra for the control. You also need a sealable container for each test, all the same type so the container itself does not affect the results.
For insulating materials, anything on hand works. Wood shavings, cotton balls, bubble wrap, a folded towel, pom poms, rice, or aluminum foil are all worth trying. I used paper towel and baking powder when I ran this experiment, and the results genuinely surprised me.
How to set up the experiment
Start by placing one ice cube in a plain container with no insulation at all. This is your control. It tells you how long a standard, unprotected ice cube takes to melt under the same conditions.
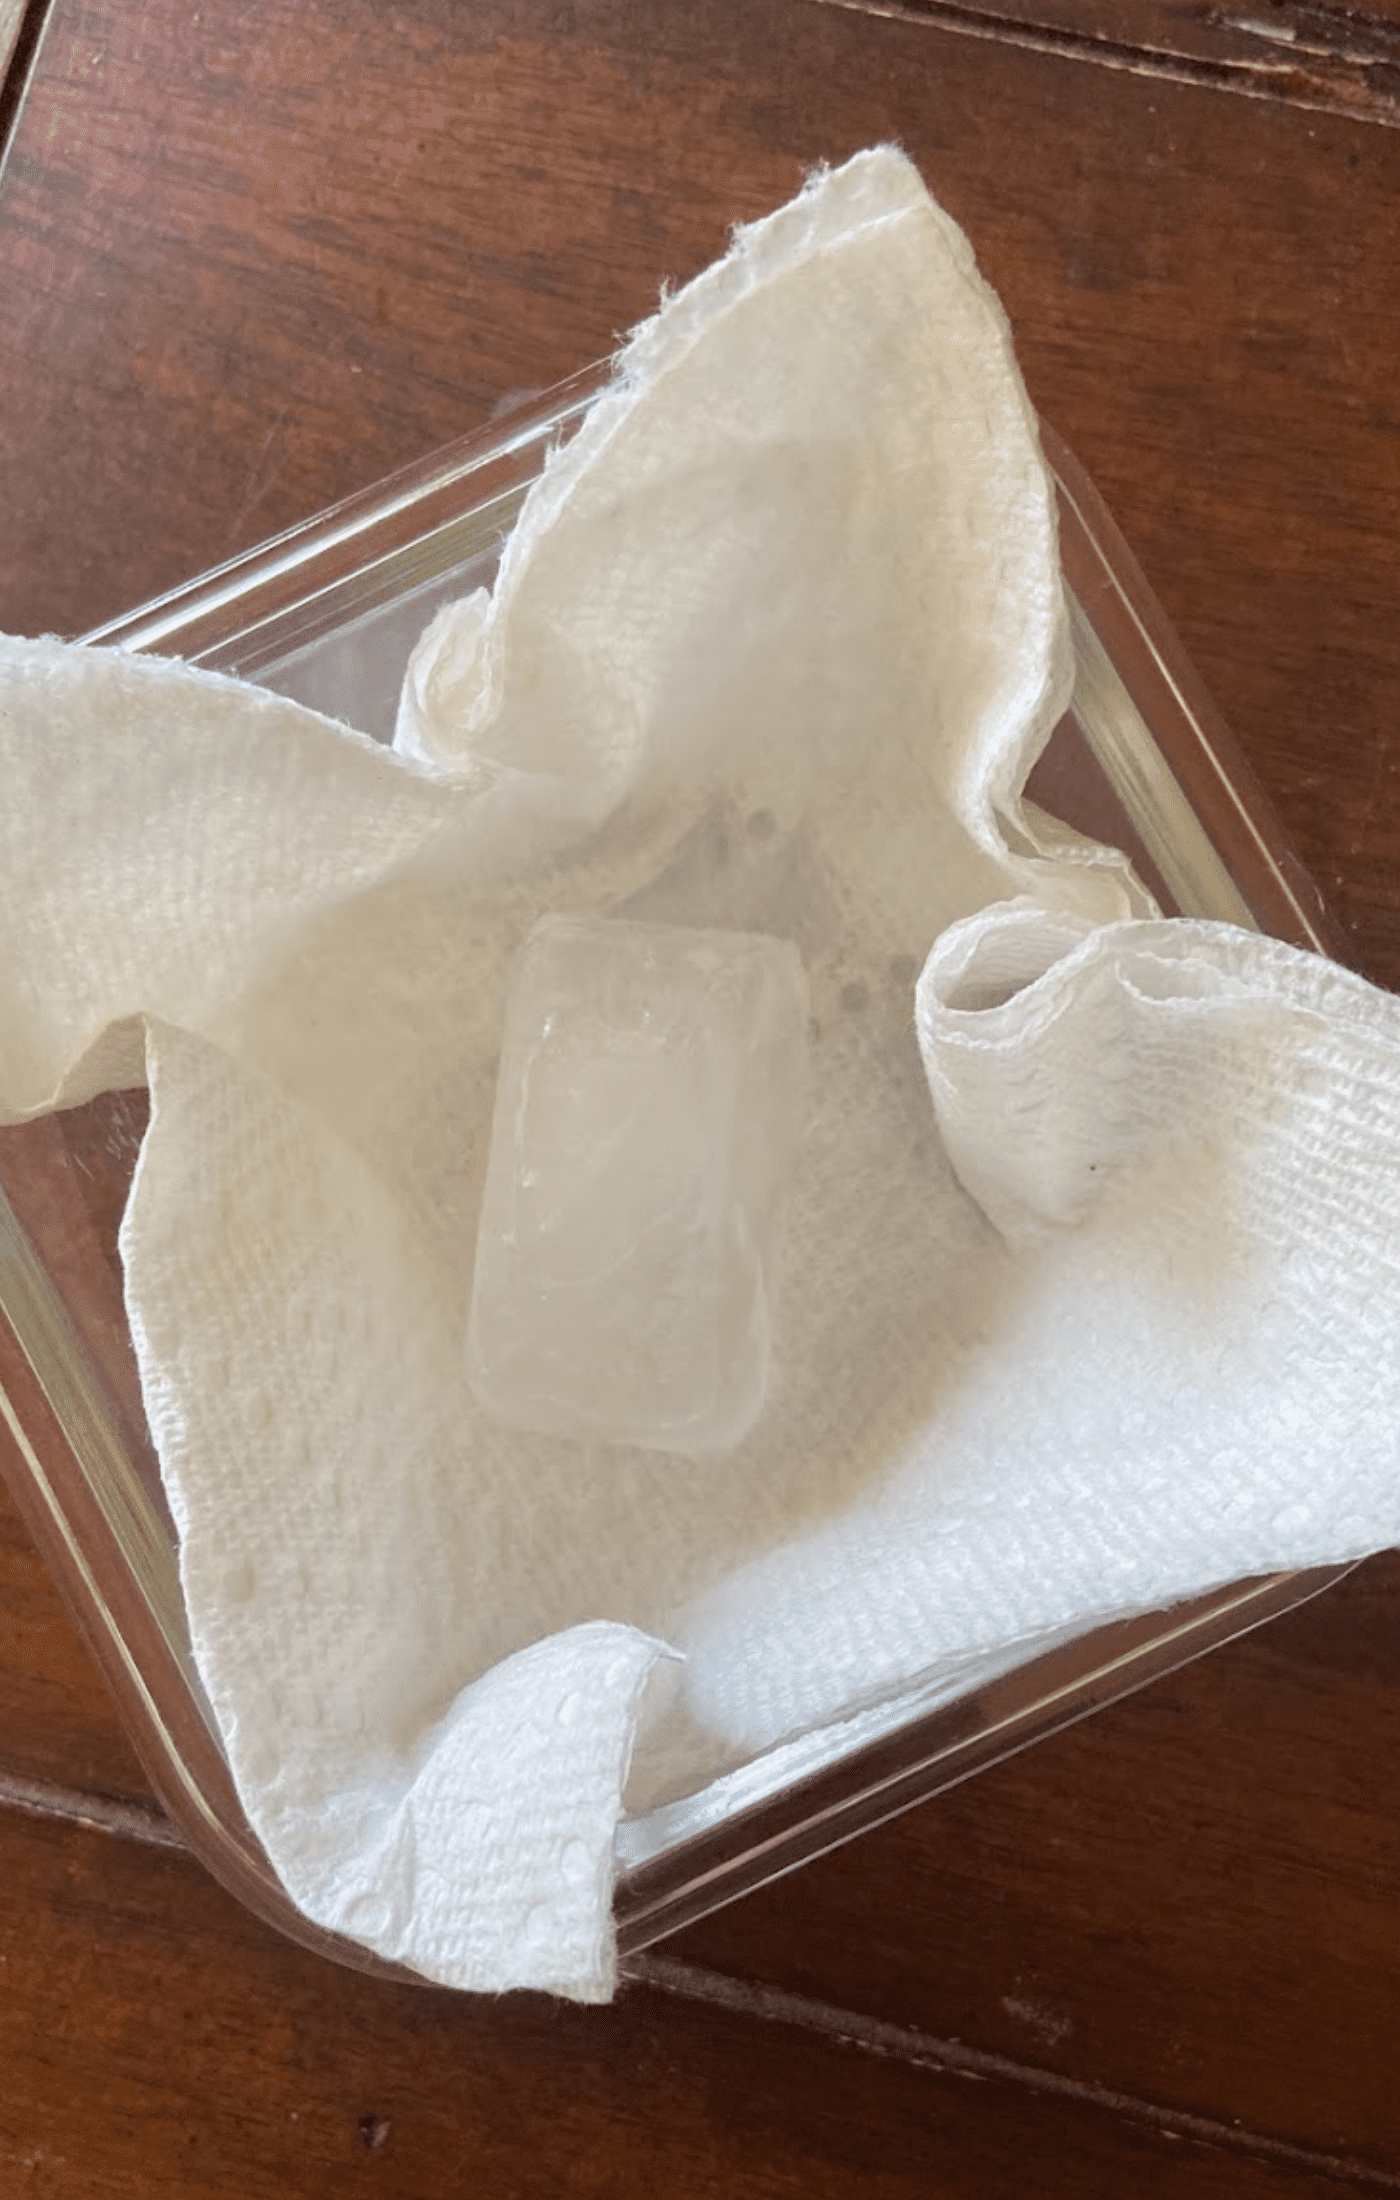
For each other container, have your child pack their chosen insulating material around one ice cube and then seal the container. Make sure the ice cube is fully surrounded. If part of the surface is exposed on one cube but not another, the results will not be a fair comparison. Once all the containers are ready, note the start time and check back at regular intervals.
A few things to keep in mind as you set this up. Cover each container completely so outside heat does not interfere. Use identical containers for every test. Start the experiment early in the day because it takes longer than you might expect. Larger ice cubes will extend the timeline even further if you want to stretch the activity across a full day.
The experiment steps
Brainstorm first
Before anyone touches an ice cube, spend a few minutes talking through what your child already knows. Ask what they know about how ice melts and what might slow that process down. If they did the earlier experiments, ask them to connect what they learned. For example, we found in the colored paper experiment that dark surfaces absorb heat faster than light ones. So, would a dark container or a light container be a better choice here?
Make a prediction
Ask your child to predict which insulator will work best and why. Have them write it down or say it out loud before testing begins. This step matters. It gives the experiment a purpose and makes the results more meaningful when they come in.
Design and build
Let your child choose their materials and set up their insulator. They should pack the material around the ice cube and seal the container. Keep the process simple, but let them make the design choices.
Test and observe
Set a timer and check back every 15 to 30 minutes. Record what you see at each check-in. Note when the control cube melts completely. Then keep watching to see how the insulated cubes compare.
Share the results
Talk through what happened. Which insulator worked best? Did anything surprise you? What would you try differently next time? This conversation is where a lot of the actual learning happens.
Free worksheets to go with this activity
If you want a more structured record of the experiment, worksheets can help children organize their thinking. A prediction sheet, observation log, and results summary all work well here. Keeping a written record also gives kids something to look back on and compare if they run the experiment again with different materials.
What happened when I tried this
I ran this experiment after noticing something interesting during the what melts ice the fastest activity. In that test, the control ice cube melted in just 7 minutes. But the cube sitting in baking powder took 35 minutes. That result stuck with me, so I used baking powder as one of my insulators in this challenge. Paper towel was the other.
The results were more dramatic than I expected. The control cube with no insulation melted in 61 minutes. The cube wrapped in paper towel lasted 2 hours. The cube packed in baking powder lasted almost 3 hours. I had no idea baking powder would perform that well. It is one of those results that genuinely makes you think twice about the materials sitting in your pantry.
Tips for getting the most out of this experiment
A few small details can make a real difference in your results. If you want cleaner, more evenly shaped ice cubes, boiling the water before freezing it helps reduce air bubbles. For a casual home experiment, this is not necessary, but it does produce a more consistent melt rate across your cubes.
Keep all the containers in the same spot during the test. If one sits near a sunny window and another sits in the shade, you are no longer testing just the insulator. Temperature and light conditions should be the same for every container.
Also, resist the urge to peek too often. Opening and closing the containers introduces warm air, which can skew the results. Set your check-in intervals in advance and stick to them.
How this connects to other science activities
This experiment fits naturally alongside other heat and energy activities. The which color absorbs the most heat experiment connects directly to the design choices kids make here. The 50 simple science experiments for kids roundup is also worth checking if you want to keep the momentum going. And for younger children who are just getting started with hands-on science, the science activities for preschoolers page has a lot of gentler starting points.
Insulation is one of those concepts that shows up everywhere once kids start noticing it. Jackets, thermoses, house walls, coolers, and even winter gloves all work on the same basic principle. Running this experiment gives children a concrete, hands-on experience they can connect to the world around them long after the ice has melted.


Leave a Reply