
Ice melting experiments are a great way to bring real science into your kitchen or backyard. Kids naturally wonder why ice disappears faster in some situations than others, and these three experiments give them a hands-on way to find out. Each one builds on basic ideas about heat energy, freezing points, and insulation. You don’t need any special equipment. Most of what you need is already in your cupboard.
This post covers three separate experiments. The first looks at which household materials make ice melt the fastest. The second tests whether color affects how quickly ice melts in sunlight. The third flips the question around and asks whether you can slow the melting process using simple insulators. If you’re looking for more ideas like these, the science for kids section of the site has plenty to keep curious minds busy.
Experiment 1: Which material melts ice the fastest?
This experiment is rooted in a concept called freezing point depression. When you add certain substances to ice, they lower the temperature at which water freezes. This is exactly why road crews spread salt on icy roads in winter. Salt causes ice to melt even when temperatures are well below freezing. Not every city uses salt, though. Some use sand, which works differently. Sand doesn’t lower the freezing point. Instead, it adds traction on top of the ice. That difference is exactly what makes this experiment worth doing with kids.
The goal here is to test several household materials and observe which one melts ice the fastest, and which one might actually slow the melting down. One ice cube stays untouched as the control. Everything else gets a different substance added on top. By comparing results to the control, you can see whether a material speeds up or slows down melting.
I recommend letting your child choose most of the test materials. It makes the experiment feel like their own. That said, include salt in the lineup. Seeing how dramatically and quickly it works compared to everything else is the most memorable part of the whole activity.
What you need
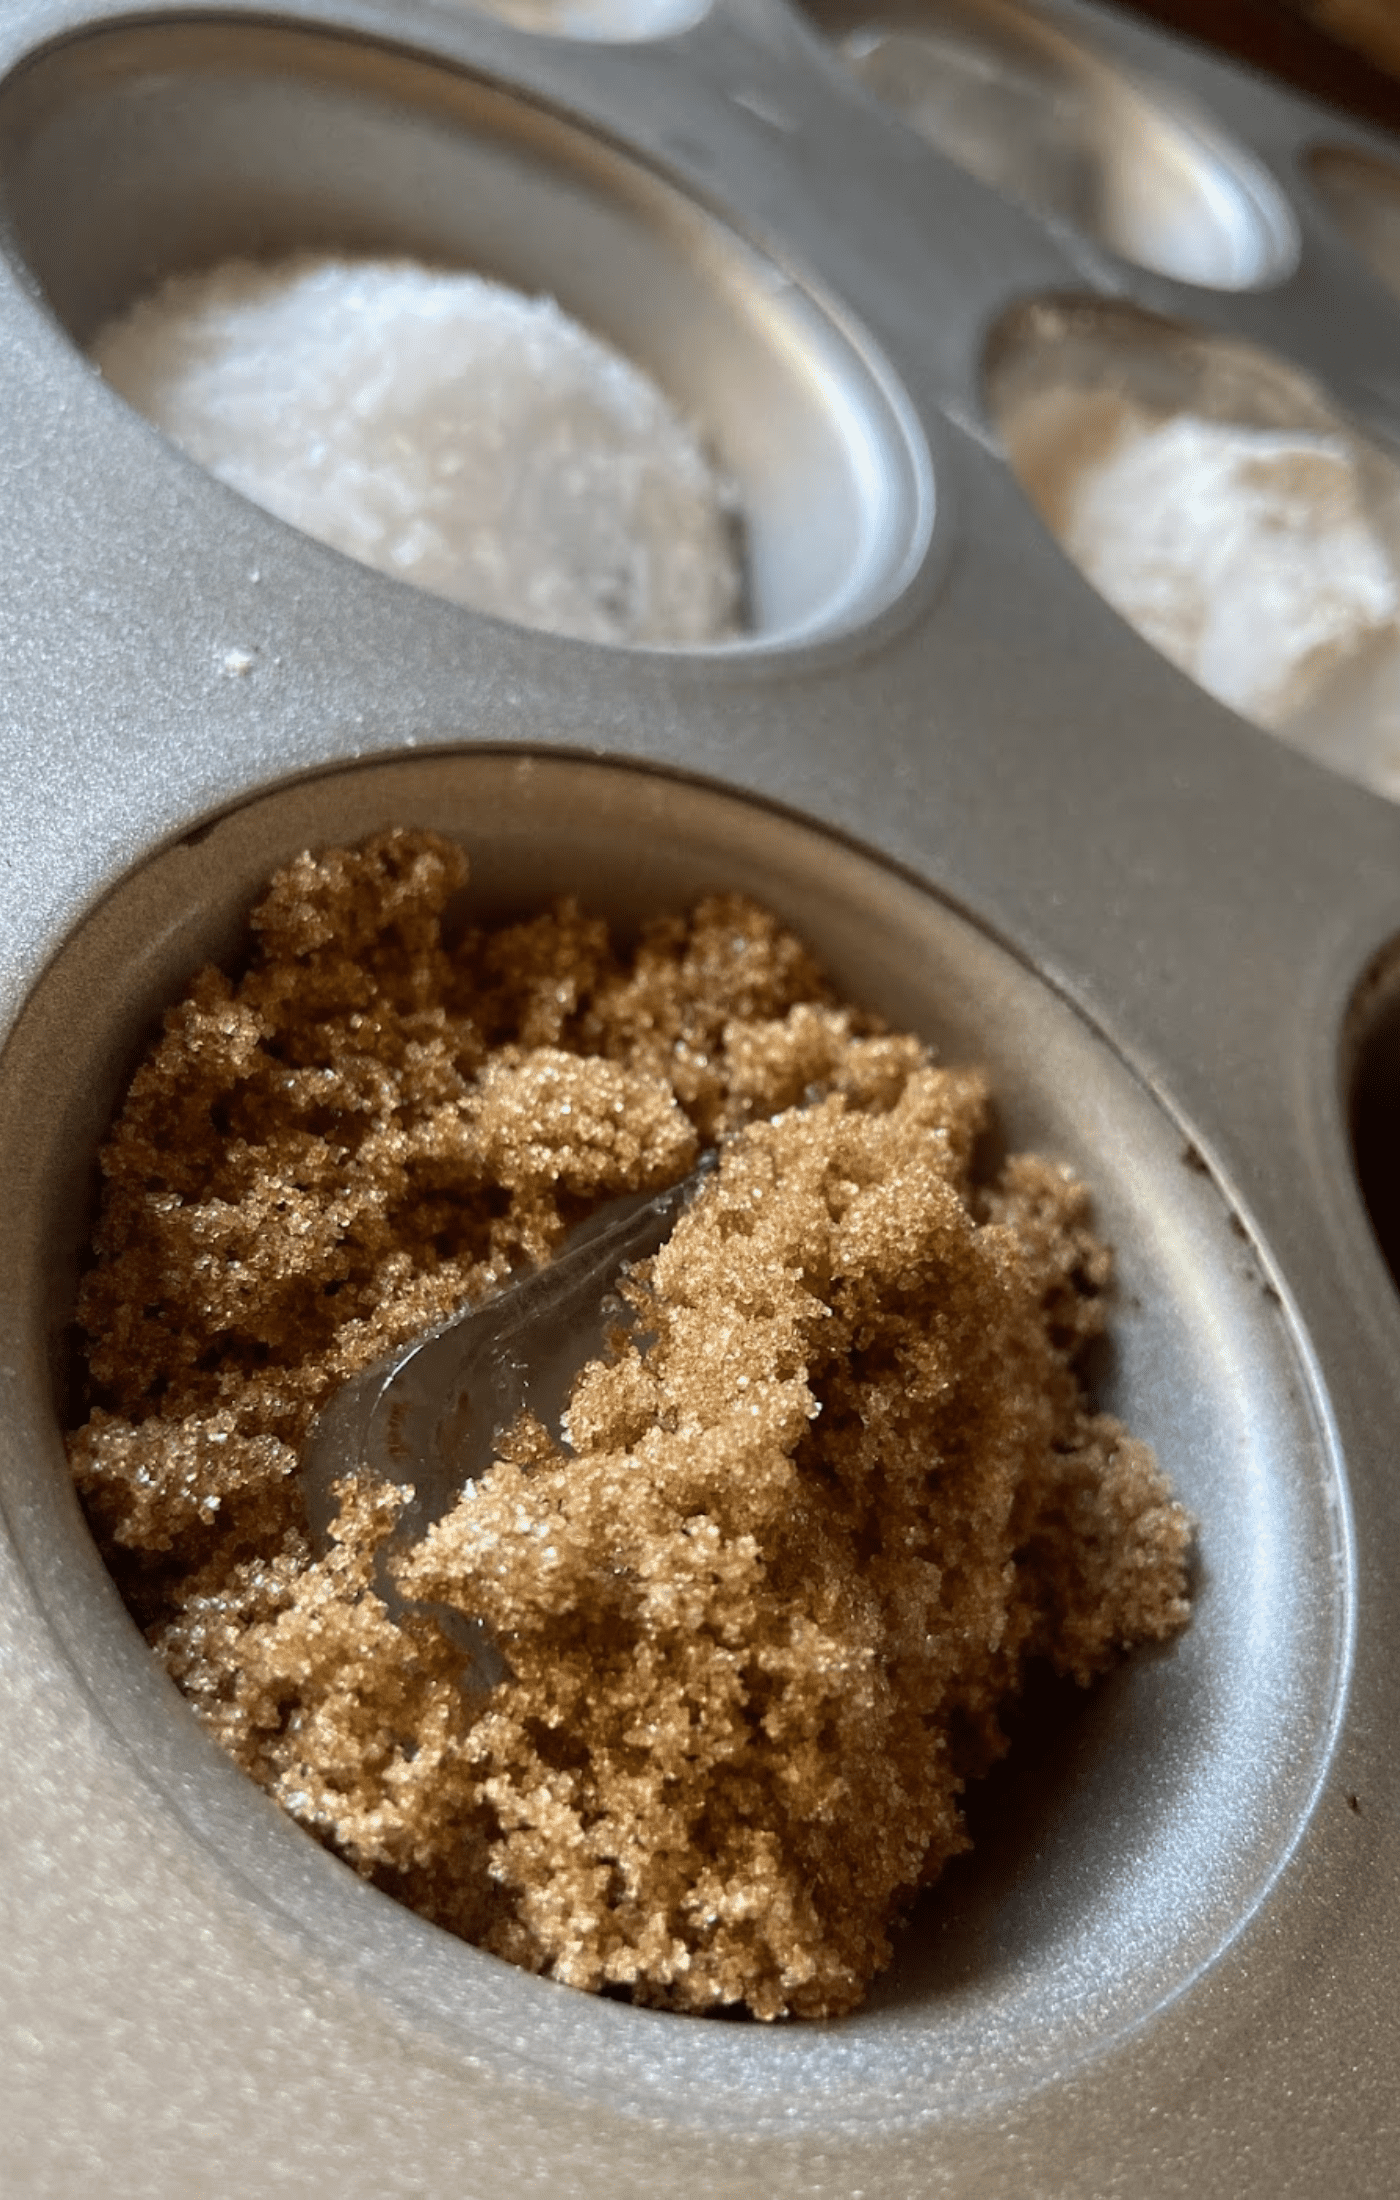
You need one container for each material you plan to test, plus one or two extra for your control ice cubes. We used a muffin tin, which worked perfectly. You also need one ice cube per container, and several dry materials to test. We used salt, baking powder, coffee grounds, and brown sugar, about three teaspoons of each. Any similar pantry items work fine. Sand, flour, oatmeal, and dirt are all worth trying if you have them on hand.
How to run the experiment
Place one ice cube in each container. Leave at least one cube completely plain. That’s your control. Add your test material to each of the other containers. Use the same amount of each substance so the comparison stays fair. Note the exact time you start. Then watch and wait. Check on the containers every few minutes and take notes on which ones are melting faster. Keep watching until every cube has melted completely.
Once you’re done, talk through what you saw. Some good questions to ask your child include: Which material melted the ice fastest? Why do you think that happened? Did any material seem to slow the melting down? How could we use what we learned in real life?
What we found
The salt container started melting almost immediately. The ice was completely gone in just five and a half minutes. The control cubes melted about two minutes after that. The brown sugar came next, then the coffee grounds. The baking powder was last. That cube took a full 35 minutes to melt. The baking powder acted more like an insulator than a melting agent, which was a genuine surprise. It’s a great reminder that the results aren’t always what you expect, and that’s exactly the point of experimenting.
Salt wins by a wide margin when it comes to what melts ice the fastest.
Experiment 2: Does color affect how fast ice melts?
This experiment tests whether the color of a surface changes how quickly ice melts on it when placed in direct sunlight. The science behind it comes down to how different colors interact with light and heat energy. Darker colors absorb more heat from the sun. Lighter colors reflect more of it. Black absorbs the most. White reflects the most. That means an ice cube sitting on black paper should melt faster than one sitting on white paper, if all other conditions stay the same.
You can read more about the detailed results and see photos over on the which color absorbs the most heat post. It also includes a free printable worksheet made specifically for this experiment.
What you need
You need one ice cube for each color of paper you plan to use. Seven or eight ice cubes is a good number. Gather sheets of construction paper in as many different colors as you have, making sure to include both black and white. Cut each sheet in half so you’re working with a manageable size. You also need a warm, sunny day with direct sunlight for at least 20 to 30 minutes.
How to run the experiment
Lay out your colored sheets of paper in a sunny spot. Place one ice cube on each sheet at the same time. Write down your start time. Check back every few minutes and track the order in which the cubes melt. Record your observations and discuss what you noticed once all the cubes are gone.
This one is very visual and easy for younger kids to follow. Watching the cube on the black paper melt noticeably faster than the one on white paper tends to stick in a child’s memory. It makes the abstract idea of heat absorption feel real and concrete.
Experiment 3: Can you stop ice from melting?
This experiment flips the earlier question around. Instead of asking what speeds up melting, you ask what slows it down. The challenge is to design an insulator using simple materials and see whose ice cube lasts the longest. This one works well as a design challenge, especially for slightly older kids who enjoy building and testing their own ideas.
Heat moves between objects through conduction, which happens when two surfaces touch. It also moves through convection, which involves molecules transferring energy as they move. Radiation is the third way, through electromagnetic waves like sunlight. To keep an ice cube from melting, you need to block as many of these heat transfer pathways as possible. That’s where insulation comes in.
You can see full results and more detail over on the best insulation to keep ice from melting post.
What you need
You need one sealable container for each insulator design being tested, plus one plain container for the control. Ice cubes go inside each container, surrounded by whatever insulating material the child has chosen. Good options include cotton balls, bubble wrap, wood shavings, rice, pom poms, or small towels. The child gets to pick what they think will work best, which is what makes this experiment genuinely engaging rather than just a demonstration.
How to run the experiment
Start with a brainstorm. Ask your child which materials they think would make the best insulators and why. Let them design their container before building it. Once each insulator is set up, place one ice cube inside each container and one in a plain container with nothing around it. Note the start time. Check in every few minutes and track which cube melts first. The last cube to melt wins.
This experiment pairs well with the first one. After seeing how salt speeds up melting dramatically, kids are often motivated to figure out how to protect ice from melting at all. Together, the experiments build a solid understanding of heat energy and how we can influence it in both directions.
Connecting these experiments to everyday life
One of the best things about these three experiments is how directly they connect to things kids already see around them. Road salt in winter, insulated lunch bags, dark clothing feeling hotter in the sun. These aren’t abstract ideas. They’re things that show up in real life, and having done these experiments makes them easier to notice and understand.
If your child enjoys hands-on learning like this, the 50 simple science experiments for kids roundup is a good next stop. There are also individual experiments worth trying on their own, like the volcano experiment for kids and the lava lamp experiment, both of which use common household materials and take very little setup time.
These ice melting experiments work well for a wide age range. Younger kids can observe and describe what they see. Older kids can record data, form hypotheses before starting, and explain the science behind their results afterward. You don’t need to make it feel like a school lesson for it to count as real learning.


Leave a Reply