
A lava lamp experiment is one of those activities that looks impressive but takes almost no effort to set up. All you need is oil, water, food coloring, and an Alka-Seltzer tablet. That’s it. Within minutes, your child gets a front-row seat to a real chemical reaction, and it looks genuinely cool.
What is a homemade lava lamp?
A homemade lava lamp works by using the difference in density between oil and water. Water is denser than oil, so water sinks to the bottom and oil floats on top. They don’t mix, no matter how much you stir. When you add food coloring, it only mixes with the water, not the oil. So the color stays at the bottom of the container.
When you drop in an Alka-Seltzer tablet, it reacts with the water to produce carbon dioxide gas. Those gas bubbles attach to bits of colored water and carry them up through the oil layer. When the bubbles reach the surface and pop, the colored water sinks back down again. That rising and falling motion is exactly what gives a real lava lamp its look.
This is a great introduction to science for kids because the concept is simple enough to explain to a four-year-old, but interesting enough to hold their attention for a long time.
What you need
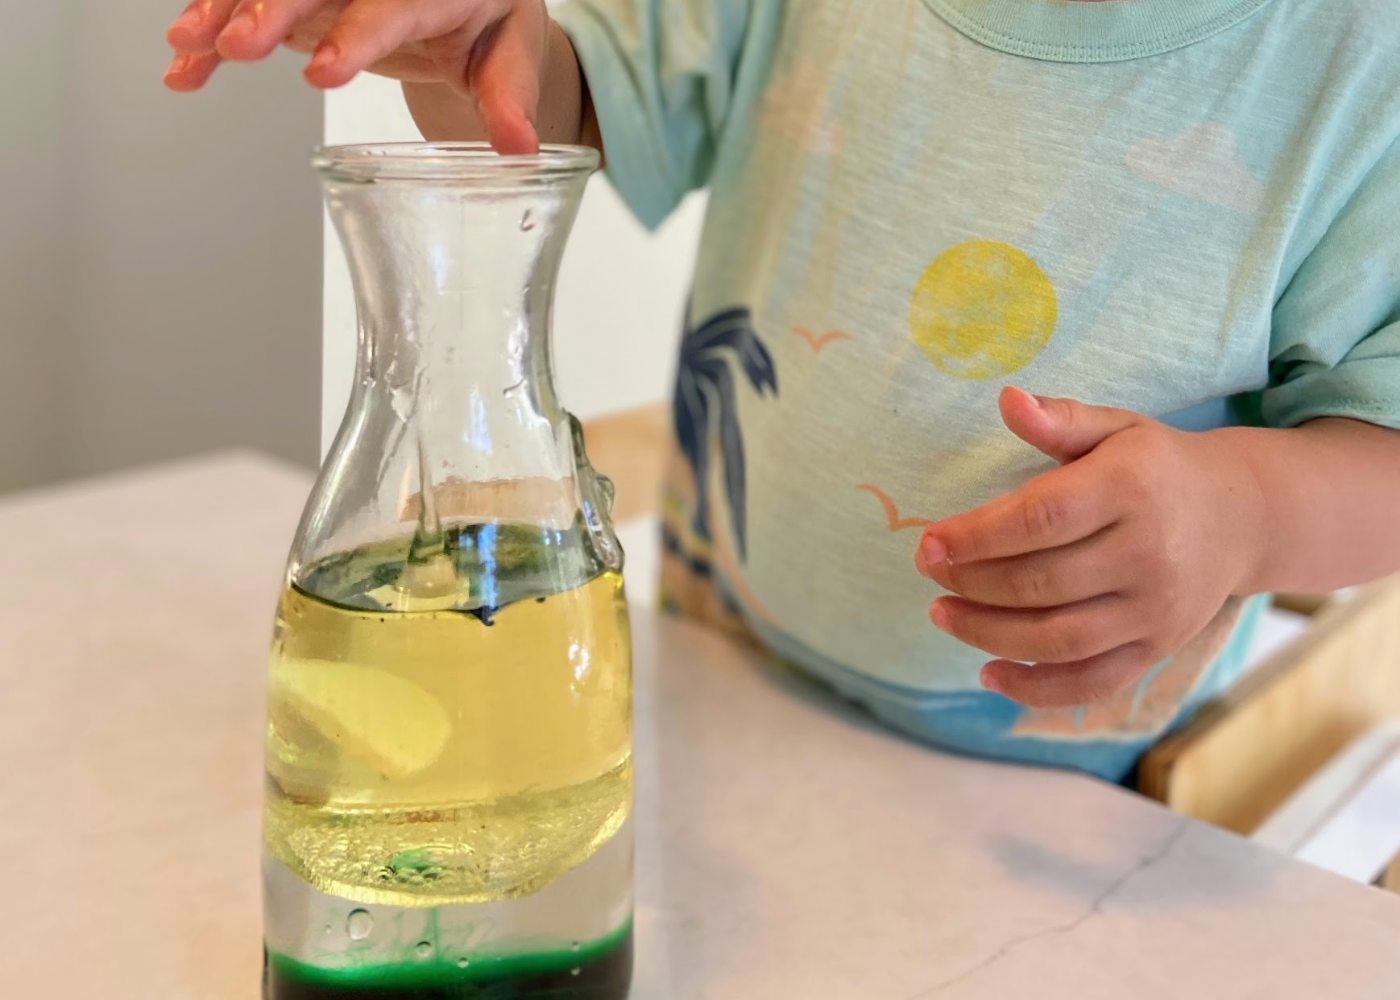
You likely have most of these materials at home already. You need a clear container (a glass jar, a tall drinking glass, or a clean plastic bottle all work well), water, oil, food coloring, and Alka-Seltzer tablets. Mineral oil gives the clearest result, but vegetable oil works fine. Vegetable oil has a light yellow tint, which you can see in the finished product, but it doesn’t affect how the experiment works. You can find Alka-Seltzer tablets at any grocery store or pharmacy, usually near the toothpaste and denture products.
How to set up the lava lamp experiment
Start by filling your container about one quarter of the way with water. Then pour in oil until the container is almost full, leaving a small gap at the top. Watch what happens as you pour. The oil will rise to the top and the water will stay on the bottom. This is a good moment to ask your child what they notice before you do anything else.
Add a few drops of food coloring. You will see the color drop through the oil and mix into the water below. Again, pause here and let your child observe. Ask them why they think the color went straight through the oil without mixing into it.
Now break an Alka-Seltzer tablet into a few smaller pieces. Starting with a smaller piece makes the reaction last longer, which means more time to watch and talk about what’s happening. Drop one piece into the container and watch the reaction begin. Colored bubbles will rise up through the oil, reach the surface, pop, and fall back down. It looks exactly like the inside of a lava lamp.
When the bubbling slows down, drop in another piece and start again.
Extending the learning
The best part of this activity isn’t the setup. It’s the conversation you can have while you watch. Ask your child why they think the oil and water won’t mix. Ask what they think would happen if you used a whole tablet at once instead of a piece. Ask why the bubbles pop when they reach the top.
You don’t need to give them the answers right away. Let them think through it. That back-and-forth is where the real learning happens. If your child is ready for more structure, you can introduce the idea of the scientific method by having them make a prediction before you drop in the tablet, then compare what they predicted to what actually happened.
You can also try small variations to keep things interesting. Try using two different colors of food coloring and see what happens when the bubbles mix at the surface. Try comparing mineral oil and vegetable oil side by side. Try using a taller, narrower container versus a shorter, wider one and see if the lava lamp effect looks different.
These small changes teach children that science involves testing and comparing, not just following steps once. For more ideas like this, the 50 simple science experiments for kids post has a lot of good options that use everyday materials.
Why this experiment works well with young kids
Preschool and kindergarten-aged children learn best when they can see and touch what they’re studying. This experiment gives them something visible happening in real time. The bubbles move. The colors shift. The reaction is immediate. There’s no waiting around for results.
It also connects to concepts they can understand at their level. The idea that some things mix and some things don’t is something children observe all the time. This experiment gives that everyday observation a name and a reason. For more ways to bring hands-on learning into your child’s routine, the science activities for preschoolers page has a good range of ideas sorted by age and concept.
If you want to pair this experiment with other density-based activities, the sink or float experiment covers similar concepts and is just as easy to set up at home.
Tips for running the experiment smoothly
A few small things make this activity go more smoothly. Use a container that is tall and narrow if you can. The lava lamp effect is more visible when the oil layer is deep. A wide, shallow container works, but the bubbles don’t travel as far.
Break the Alka-Seltzer tablets into quarters before you start. This lets you do multiple rounds of the reaction without needing a lot of tablets. One tablet can easily give you four separate rounds of bubbling.
Put down a tray or some paper towels before you start. Food coloring can stain, and small children pouring oil will sometimes overfill the container. A little prep saves cleanup time.
If your child wants to repeat the experiment the next day, you can keep the oil and water mixture in a sealed jar. Just add a fresh Alka-Seltzer piece to restart the reaction. The colored water will still be at the bottom waiting.
More experiments to try next
Once you’ve done the lava lamp experiment, it’s easy to keep the momentum going. The volcano experiment for kids uses baking soda and vinegar for another visible chemical reaction that children find very satisfying. The walking water experiment is another good follow-up that teaches absorption and color mixing at the same time. Both are low-mess and easy to run at a kitchen table.
The lava lamp experiment is a keeper. It uses materials you already have, it takes about five minutes to set up, and it gives children something genuinely interesting to watch and talk about. Run it once and your child will probably ask to do it again.


Leave a Reply