
The baking soda volcano is one of those experiments that works every single time. Kids love it. Parents love how simple it is to set up. And the best part is that you can make it as basic or as involved as you like, depending on how much time and energy you have that day.
This experiment works for a wide range of ages. A three-year-old can watch the fizzing reaction with pure delight. An older child can start asking real questions about what is actually happening and why. Either way, it is a good use of an afternoon. If you are looking for more ideas like this, the science for kids section of the blog has plenty to keep you busy.
What is actually happening in this experiment
The volcano experiment works because of a simple chemical reaction. Baking soda is sodium bicarbonate, which is a base. Vinegar is acetic acid, which is an acid. When you mix the two together, they react to form carbonic acid. That compound is unstable, so it breaks down quickly into carbon dioxide gas and water. The carbon dioxide is what causes all the fizzing and bubbling. When you add dish soap to the mix, the soap traps those bubbles and creates the foamy overflow that looks like lava pouring out.
This is a great reaction to talk through with older kids, especially if they are working on a science fair project or doing a unit on volcanoes and geology. For younger children, just watching the foam bubble up and spill over is more than enough to spark curiosity.
What you need
You only need a few basic supplies to get started. For the reaction itself, you will need half a cup of baking soda, a quarter cup of warm water, half a cup of white vinegar, and one tablespoon of dish soap. You will also need a container to hold the “lava” as it pours out, a separate small bowl or cup to mix the baking soda slurry, and a spoon for mixing.
Red food coloring is a popular optional add-in because it makes the foam look more like lava. You can let your child choose the color if you want to give them a bit of ownership over the experiment. Five drops is usually enough to get a good color without making a huge mess. Pop Rocks candy is another fun optional addition. They create a popping sound during the reaction, which takes the excitement up a notch.
The dish soap and food coloring are both optional. Without the soap, you still get a solid reaction. Without the food coloring, it still works perfectly. I have done this experiment both ways many times and it is always a hit.
How to make the volcano erupt
Start by mixing the baking soda, dish soap, food coloring, and warm water together in a small bowl. Add the water last, and only use enough to make a pourable slurry. You do not want the mixture to be too watery before you even add the vinegar.
Pour the slurry into your volcano base. If you have built a base with a cup or bottle inside, pour the slurry directly into that container. Then, when you are ready, pour in the vinegar. Step back and watch the reaction happen. The foam will bubble up and overflow down the sides of your volcano almost immediately.
Ideas for the volcano base
The base is where you can get as creative as you want, or keep it completely simple. An empty plastic bottle or cup placed on a tray works just fine and takes about thirty seconds to set up. That is my go-to on a regular Tuesday afternoon.
If you have more time and your child is keen to build something, there are a lot of good options. You can pack dirt or sand around an empty cup to make a realistic-looking volcano, which is a great extension of a sandcastle building session. Playdough or plasticine works the same way and lets kids shape and sculpt their own design around the container. We have also done this in the snow, which works just as well as any other version and has the added bonus of being outside in winter when you need something to do.
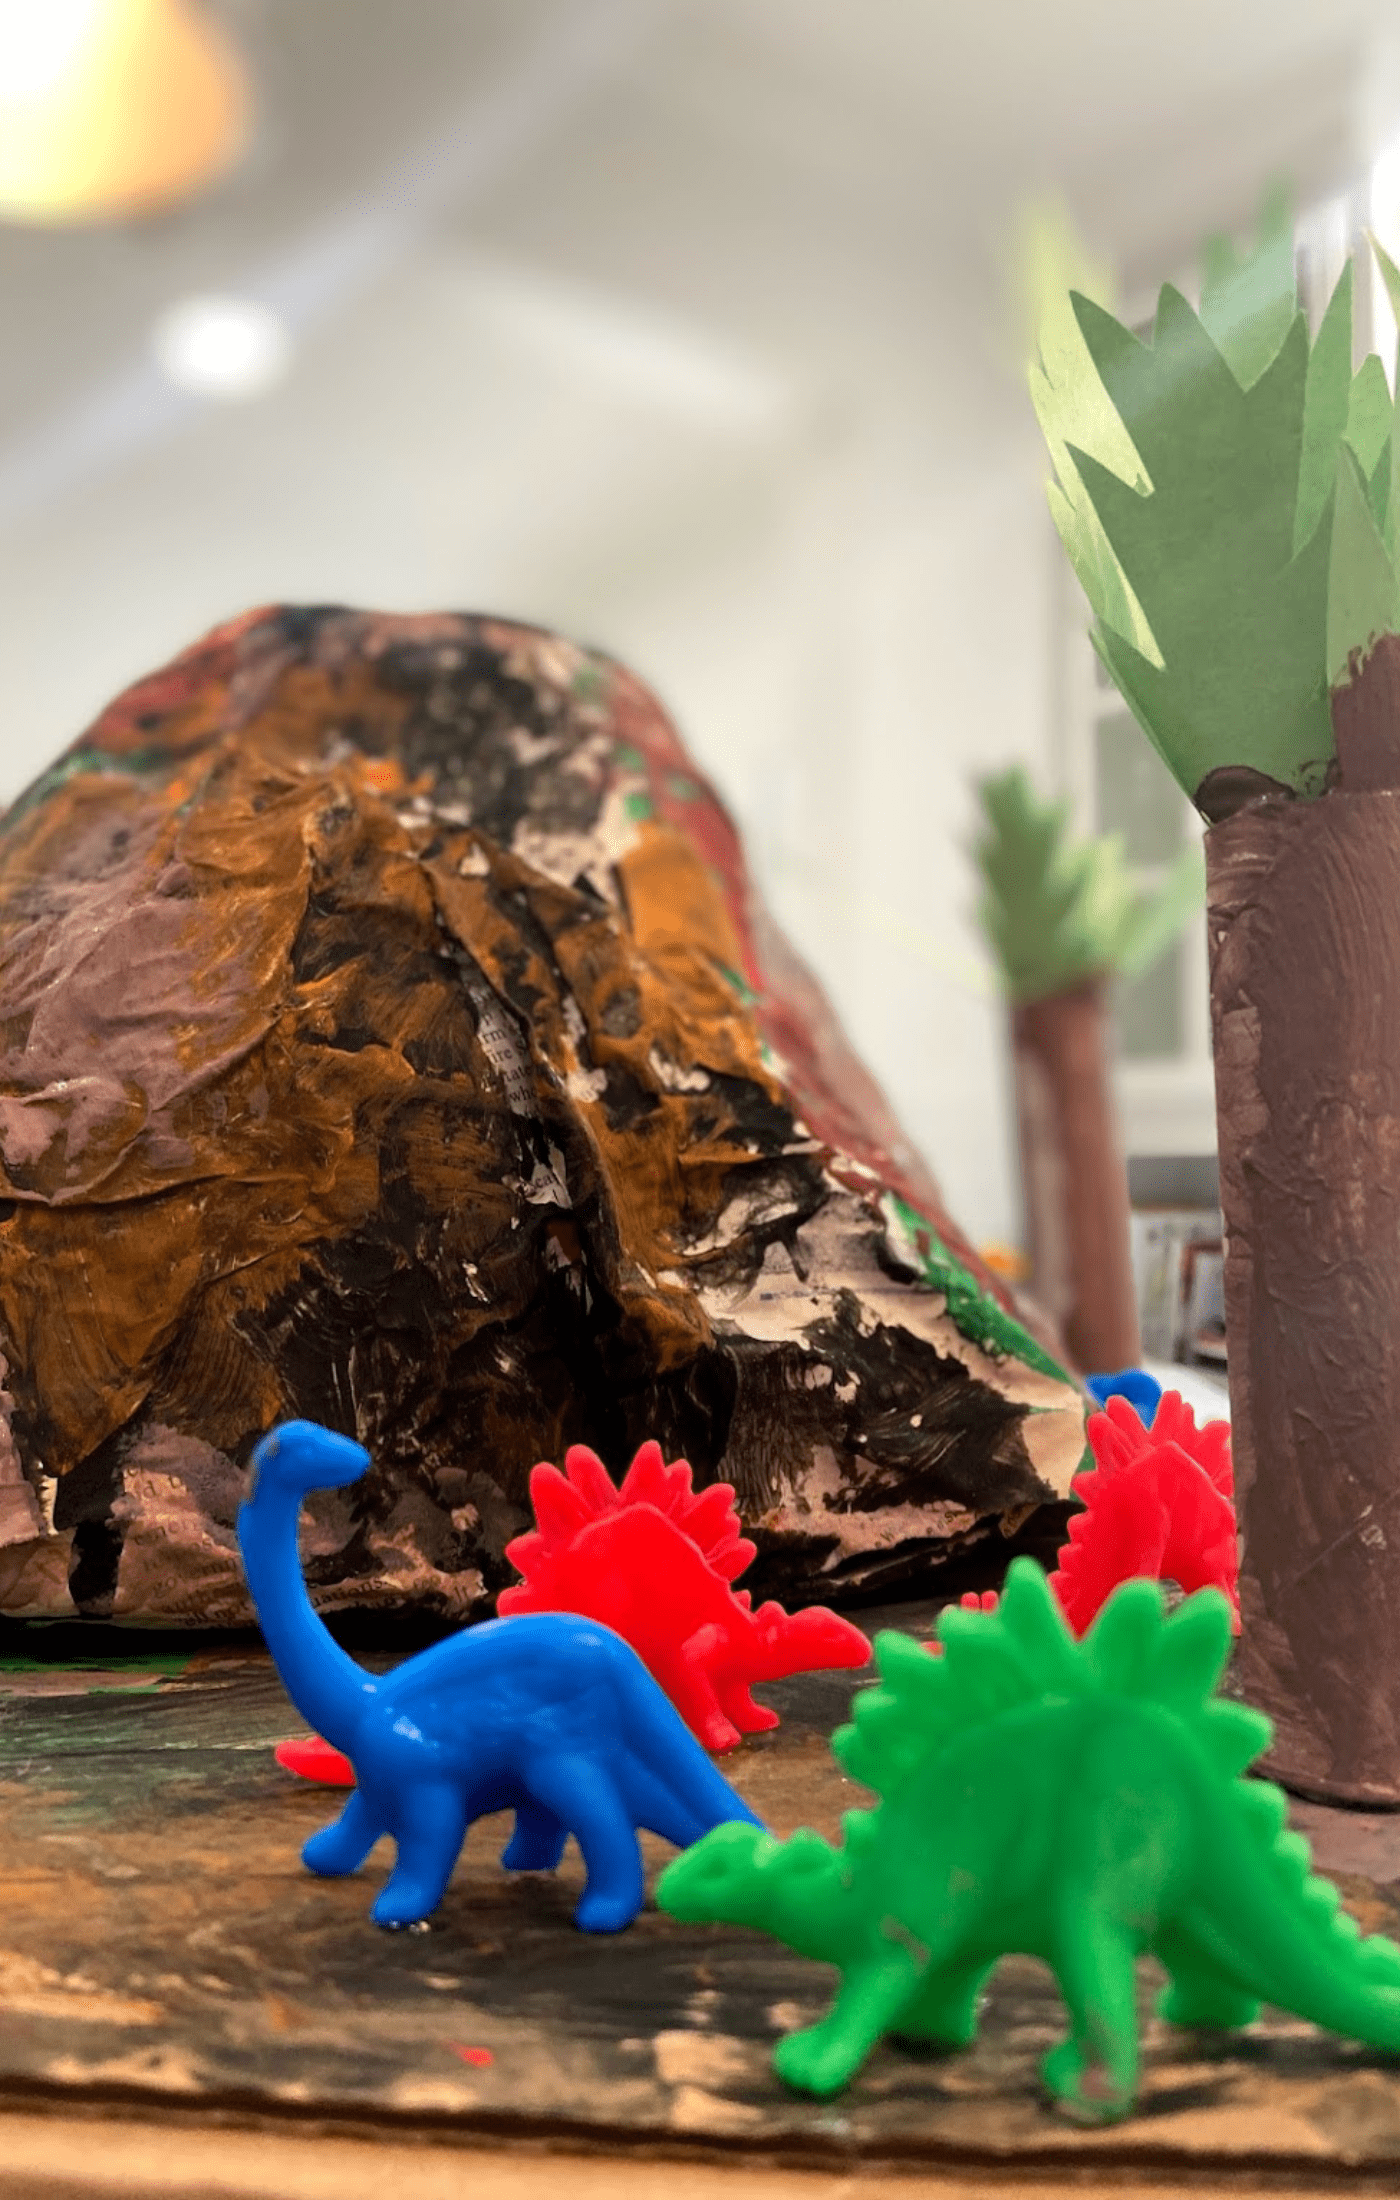
The most involved version we ever tried was paper mache. It took several days to build, paint, and decorate. We added tiny handmade trees and small plastic dinosaurs around the base before the final eruption. It was a lot of effort, but the payoff was worth it. If you want a multi-day craft project that ends with a science experiment, this is a good one. Check out our post on simple science experiments for kids if you want more ideas that combine hands-on building with actual learning.
What to do when the eruption stops
The reaction does not last long, but there are a few ways to extend it. First, try adding more vinegar to the container. There is usually leftover baking soda sitting at the bottom, and the fresh vinegar will react with it and cause another round of bubbling. If that does not work, add more baking soda slurry and follow it up with more vinegar.
Most kids are ready to move on after two or three eruptions. The novelty is real, but it does not last forever. That is fine. The cleanup is straightforward and the experiment itself is inexpensive enough that you can repeat it another day without any fuss.
Where to do this experiment
Outside is the better choice if the weather allows. The food coloring can stain surfaces, and the foam can travel further than you expect. Doing it outdoors means you are not wiping down counters or scrubbing the floor after.
If you need to do it inside, a bathtub is a good option because it contains the mess and is easy to rinse out. Just make sure the space is well ventilated. The reaction produces carbon dioxide, and while the amount is small, it is still worth keeping a window open or moving to a spot with good airflow.
Using a scientific method worksheet
If you want to turn this into a more structured learning activity, having your child fill out a simple scientific method worksheet before and after the experiment is a great way to do that. They can write down their prediction before the eruption, record what they observed, and then reflect on whether their prediction was right. This builds early habits around hypothesizing and evaluating results, which are skills that will carry forward into formal schooling.
You can find free worksheets through Teachers Pay Teachers or print a basic version at home. Tucking a completed copy into a folder lets your child look back at it and repeat the experiment on their own later. For more ideas on building these kinds of early learning habits, the science activities for preschoolers page has a good collection of experiments that follow a similar approach.
How to connect this to bigger science ideas
The baking soda and vinegar reaction is a useful starting point for talking about acids and bases, chemical reactions, and even real geology. Actual volcanoes erupt because of pressure and molten rock, not a chemical reaction, but the visual of lava flowing down the sides of a mountain translates well to what kids see in this experiment.
For a science fair, older children can document the variables they tested, such as different amounts of baking soda or vinegar, or whether the temperature of the water changed the reaction speed. They can compare results across multiple trials and present their findings in a simple display. Our post on snow volcano experiments is worth a look if you want to try a cold-weather variation that adds another variable to the mix.
More experiments worth trying
If this experiment was a hit and you want to keep going, there are a few others that use similar materials and have the same low-prep appeal. The lava lamp experiment uses oil, water, and a fizzing tablet to create a different kind of visual reaction. The static electricity experiment is another easy one that tends to get a big reaction from kids. And if you want something sensory and open-ended, the oobleck recipe is a classic that never gets old.
The volcano experiment is one of those reliable activities that you will come back to more than once. It is cheap, it is quick to set up, and it actually teaches something real. That combination is hard to beat.


Leave a Reply