Explore density and buoyancy with this super simple sink or float experiment for kids. It’s exactly what it sounds like: Simply gather testable materials and a tub of water and test whether an object floats or sinks!
Preschool activities can be super engaging, can offer learning opportunities, and be super simple too. Small children can be introduced to the scientific method of researching, hypothesizing, experimenting, analyzing, and concluding through this simple sink or float activity. See what we tested below!

What is a sink or float experiment?
This is an excellent activity for young scientists – Especially those who love playing outside! Learn why we think science for kids is so important in this post.
This activity is a very simple and visual way to teach children about the scientific concepts of density and buoyancy. Depending on the age of your children or students, you’ll want to modify the science language you use. In preschool, I would ask “do you think your object will sink or float?” and “why do you think this object will float?”
For older kids, you can begin talking about density and buoyancy as well as deeper hypothesizing and analyzing. What makes an object buoyant? How can you predict the density of one object compared to the next? Etc.
Download these worksheets before starting!
This is a great standalone activity. Your little ones will learn without writing things down. But, if you want a worksheet to supplement it, you can download my Float or sink experiment worksheet from my Teachers Pay Teachers store for free. Or, if you just want to focus on learning the scientific method, I have my Scientific Method worksheet listed there for free too.
You can also download the first one from the PDF below.

Creating the sink or float experiment: What you’ll need
This is meant to be a child-led activity, so the materials needed will vary from one kiddo to the next. Just make sure the items are safe and that they’re allowed to be tested (unlike your cell phone or favorite watch, for example).
Here is what you will need:
- 1-2 buckets or containers of water (depending on if multiple kids are participating)
- You could also use the kitchen sink
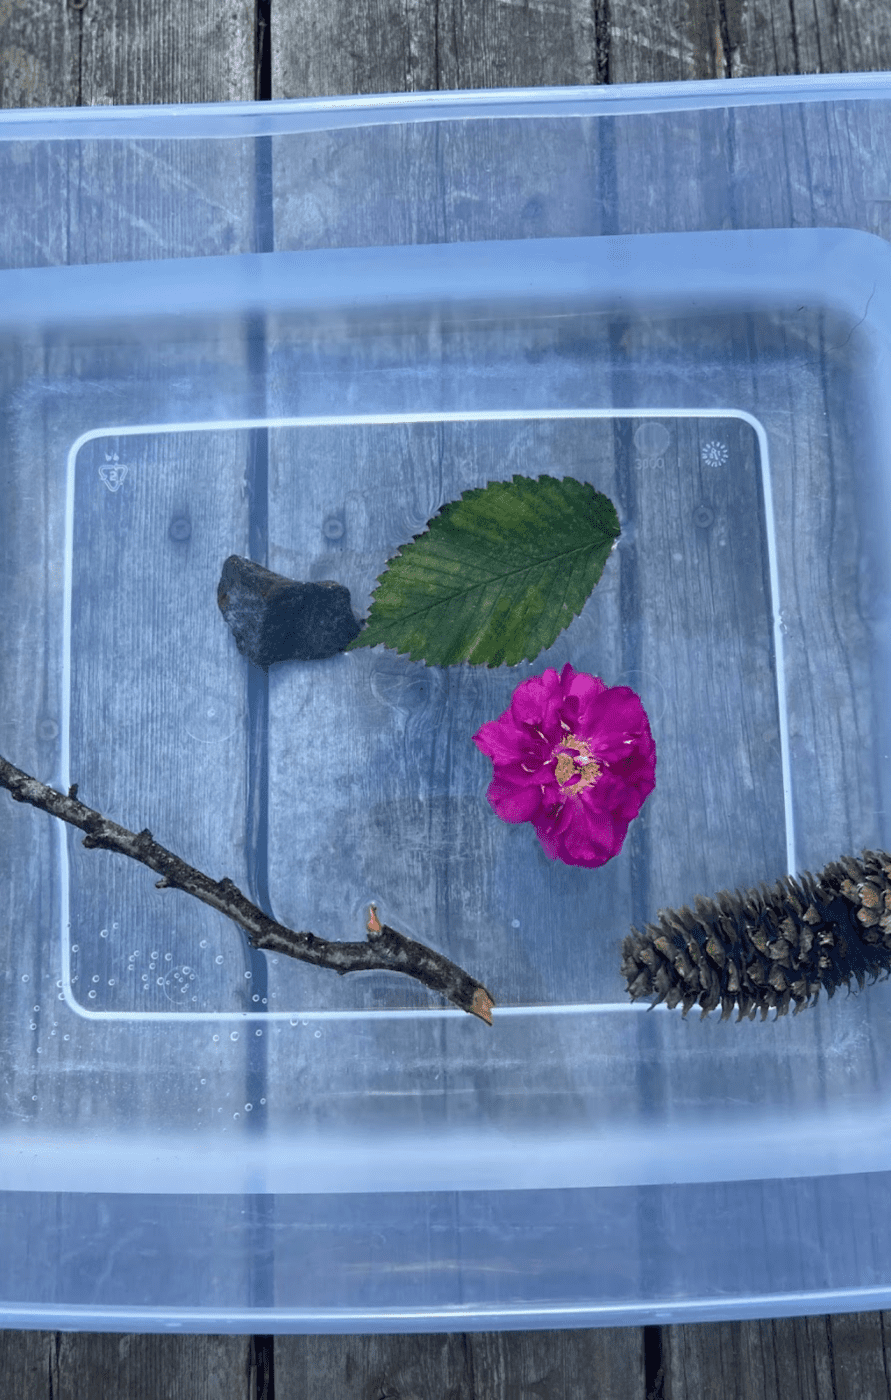
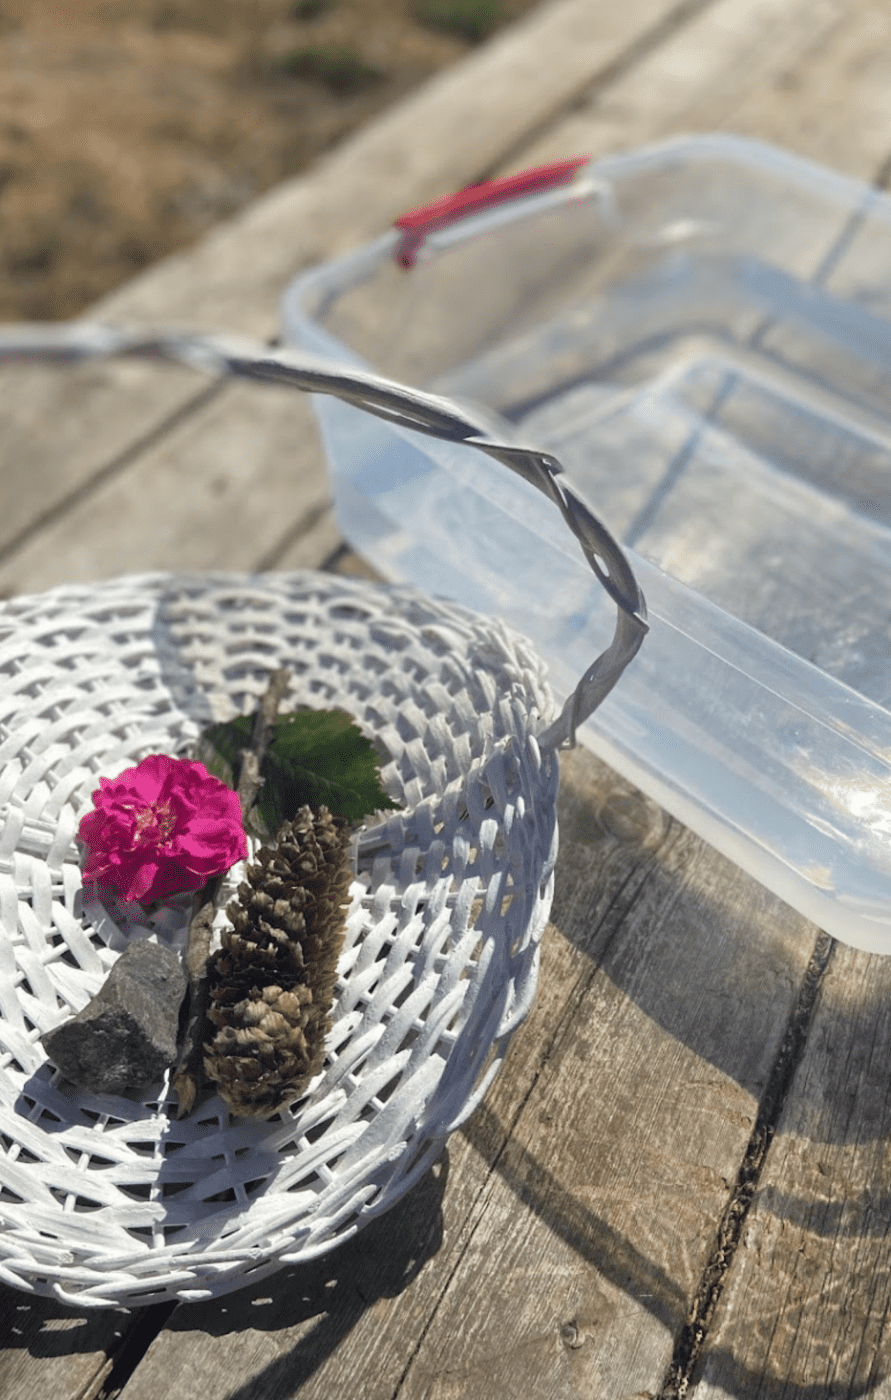
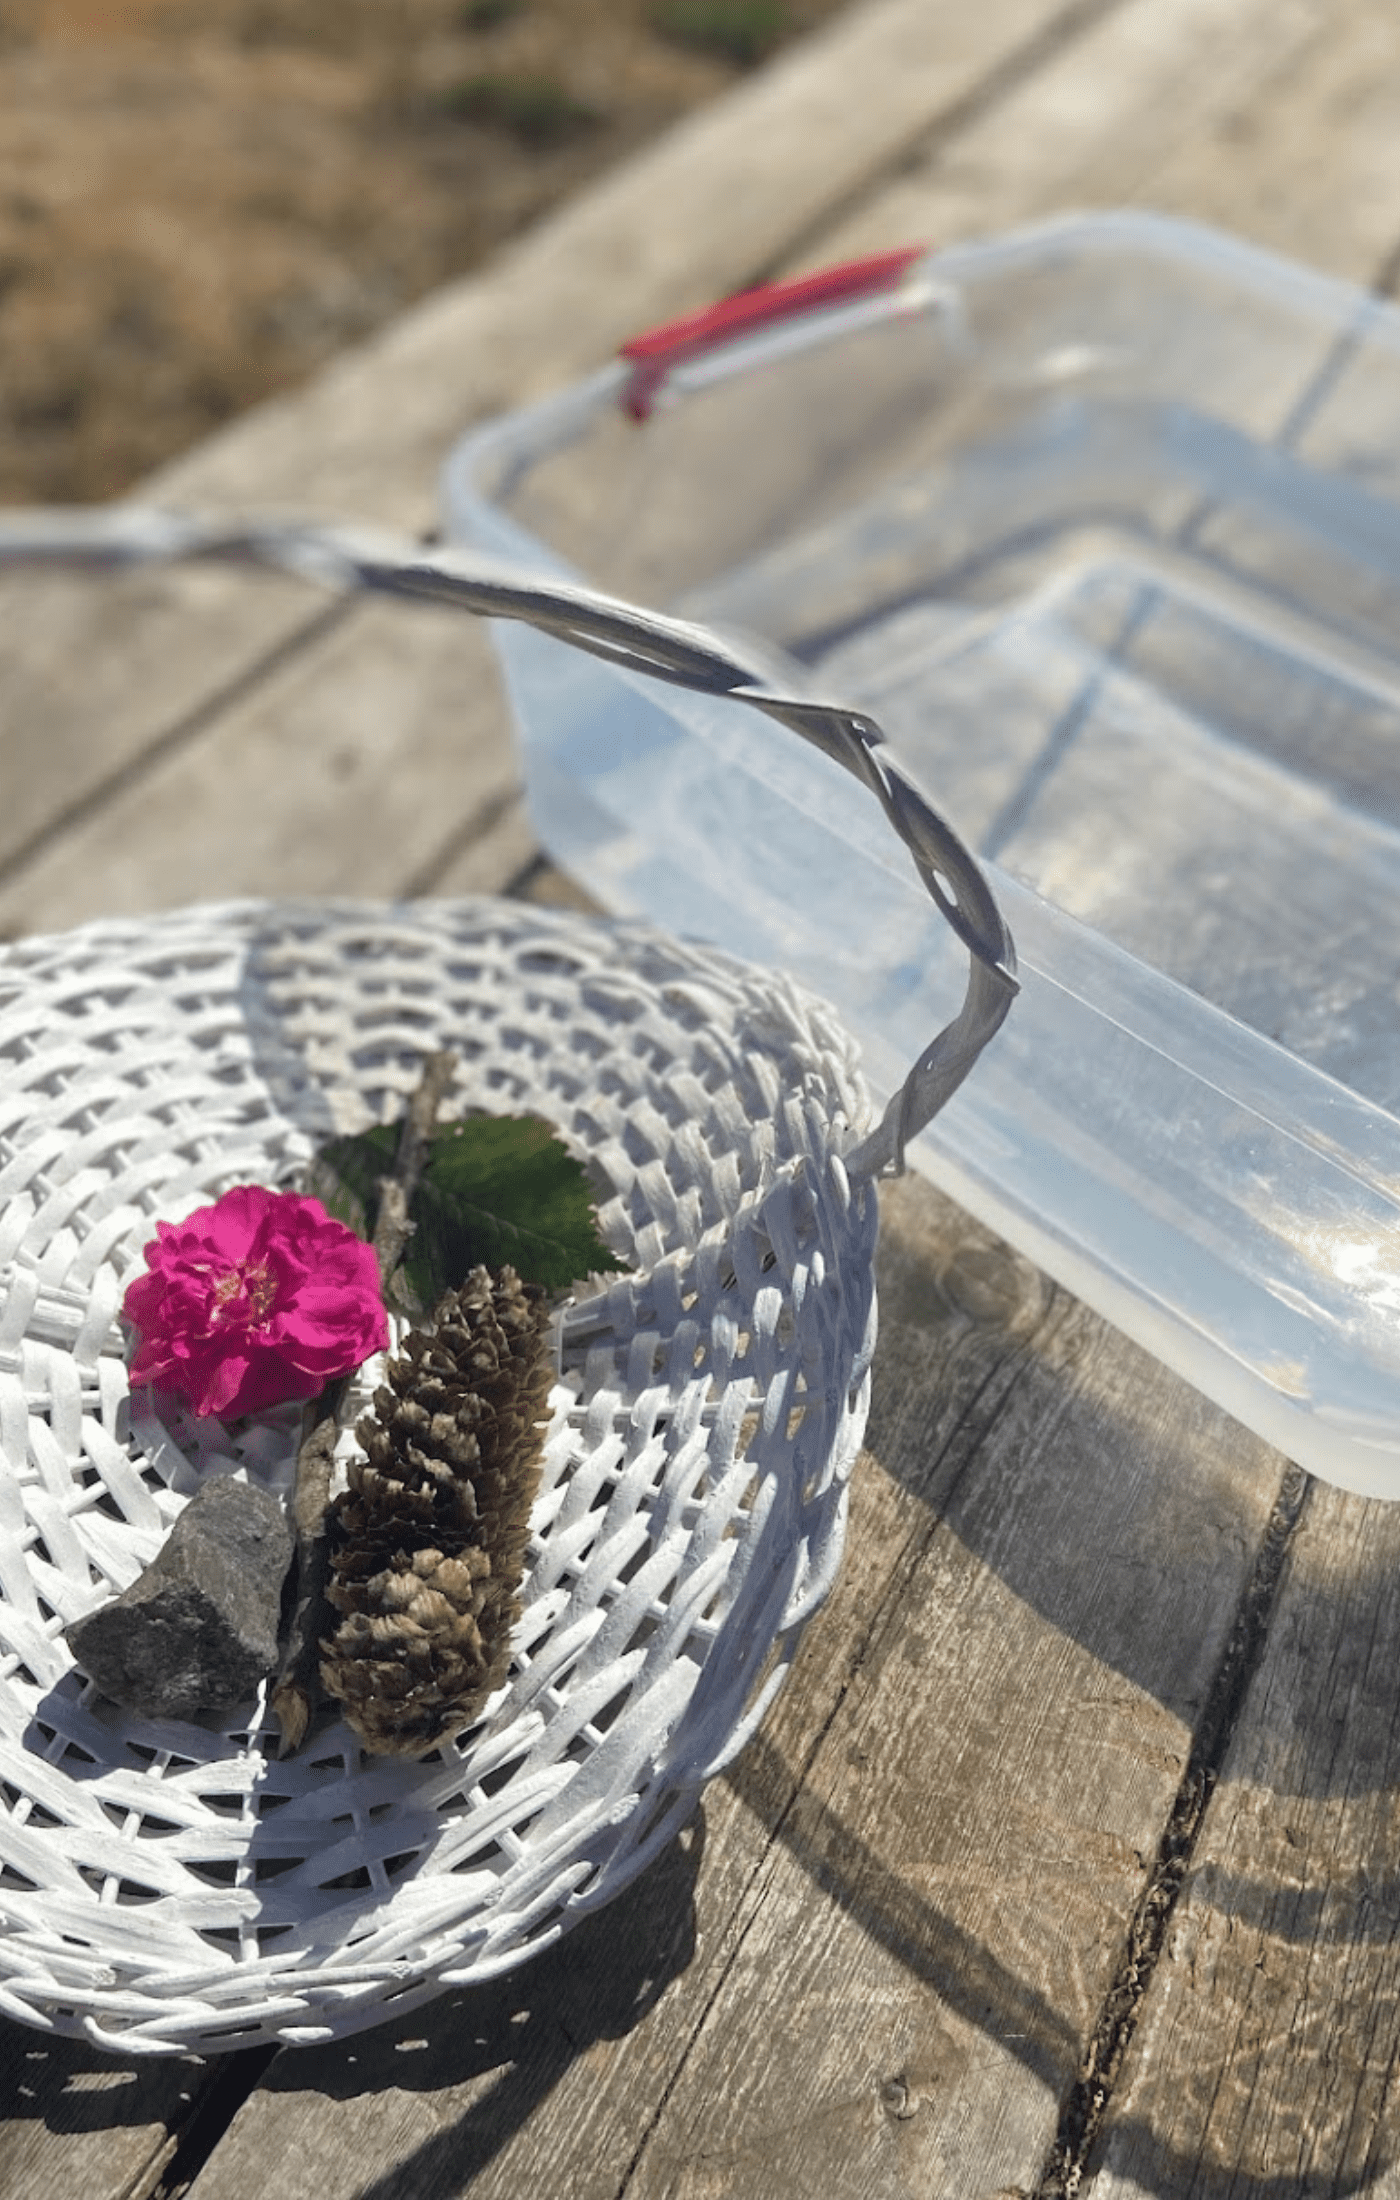
- Whatever objects your children would like to test (we used a flower, a rock, a stick, a leaf, and a pinecone)
How to create the sink or float experiment
This is one of my most simple science experiments. All your kids have to do is this: Collect materials to test, hypothesize (make an educated guess) about which will float and which will sink, and then test one item at a time!
This is a fun way to encourage your children to be involved in the scientific process as they gather materials, practice testing ideas, and share their observations as they tell you which things sink and which things float.
Extended learning: Sink or float science
A simple extension to this is to challenge your little scientists to build the strongest aluminum foil boat that they can. Then, once it’s built, fill a container with water, place the boat on the water, and see how many pennies or marbles (or whatever other items you have a surplus of) you can stack on the boat before it starts sinking.
Conclusion
We hope you enjoy this really easy sink or float experiment! It’s the perfect science activity for a sunny day (or as an indoor activity – but keep a mop close!). Extend learning by asking kids to write or draw what they discovered. For a math component, you could do some graphing with the results, too.
Other experiments you could try
We’ve been conducting lots of science experiments lately! Here are some you might want to check out:
- What melts ice the fastest? 3 STEM activities for kids
- Which color absorbs the most heat?
- Ice insulation STEM challenge
More science posts
Searching for more science experiments and science-related activities to do with your little ones? Check out this category to see all of our posts about science for kids!


Leave a Reply