
This experiment uses two simple kitchen ingredients to inflate a balloon without anyone blowing into it. When you mix vinegar and baking soda inside a bottle and stretch a balloon over the top, the gas produced by the chemical reaction fills the balloon on its own. It is a satisfying experiment to watch, and it takes only a few minutes to set up.
What is the self-inflating balloon experiment?
When an acid and a base mix together, they react and produce carbon dioxide gas. In this case, the vinegar is the acid and the baking soda is the base. You may have seen this same reaction in a volcano experiment, where the gas bubbles up and spills over the edges of a container. In this experiment, the balloon traps that gas instead of letting it escape. As carbon dioxide builds up inside the bottle, it has only one place to go. It travels up into the balloon and inflates it from the inside.
This is a great way to talk with kids about chemical reactions and the states of matter. Gas is invisible, but this experiment makes it easy to see what gas can actually do. It also opens up a conversation about how the air we breathe out contains carbon dioxide too, which is the same gas filling the balloon here.
If you want to pair this with a more structured learning moment, consider printing out a simple scientific method worksheet before you start. Walking kids through a hypothesis, an observation, and a conclusion helps them build habits of thinking that carry over into school. You can find free printable worksheets at Teachers Pay Teachers to go alongside simple science experiments like this one.
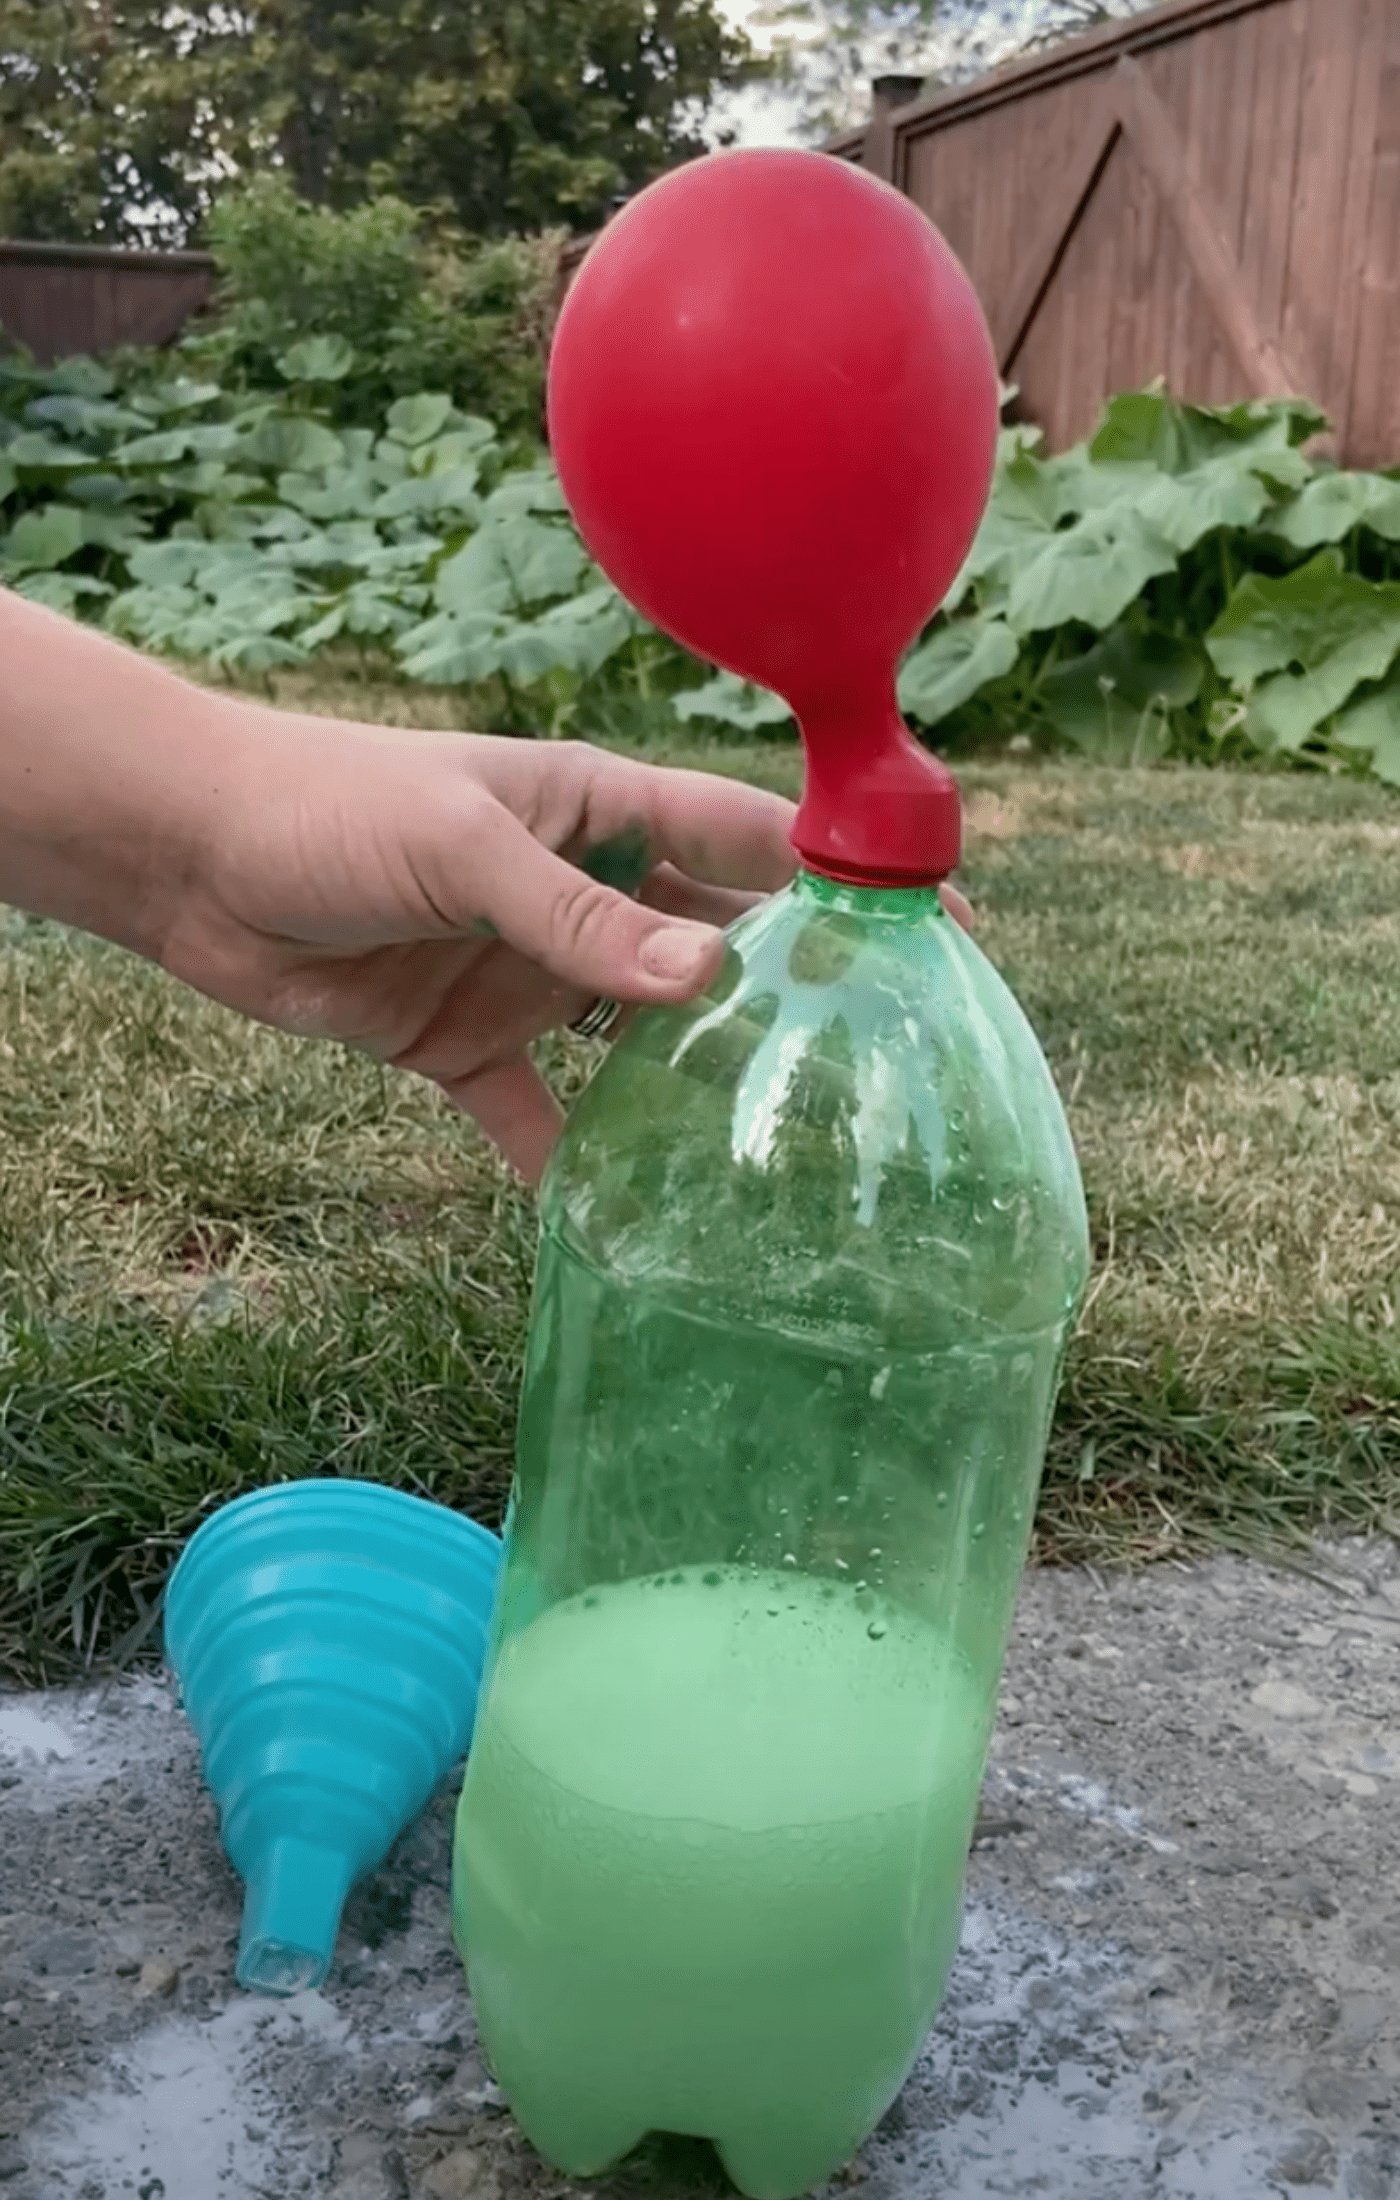
What you need
Everything on this list is likely already in your kitchen. You will need an empty two-litre bottle, two tablespoons of baking soda, about one and a half cups of white vinegar, one balloon, and either two funnels or one funnel and a spoon. That is all. The amounts listed will inflate the balloon partway. You can always add more vinegar after the first round to see how much bigger you can get it.
How to set it up
Before you start, make sure the bottle is completely empty and that the balloon is close at hand. You will need to move quickly once the baking soda meets the vinegar, so having everything ready in advance matters. This experiment works best with older children who can act fast, or with a parent helping to stretch the balloon over the bottle opening in time.
Start by removing the lid from the bottle. Place a funnel in the opening and pour the vinegar in first. Remove the funnel once the vinegar is in. Next, use either a second funnel or a spoon to get the baking soda into the bottle. As soon as the baking soda drops in, quickly stretch the balloon over the top of the bottle opening and hold it in place. The reaction will start right away, and you will see the balloon begin to rise and fill with gas. Watch it carefully so you can remove it before it stretches too far.
Tips for the best results
The timing is the trickiest part of this experiment. If you wait too long to get the balloon over the bottle, the gas will escape before the balloon can catch it. Practice stretching the balloon over the bottle opening before you add the baking soda so you know how it feels. You can also pre-stretch the balloon a few times to make it easier to fit over the bottle in a hurry.
If the balloon does not inflate much, try adding more vinegar. The ratio of vinegar to baking soda affects how much gas is produced. More vinegar generally means a bigger reaction. You can experiment with different amounts to see what happens, which is a natural extension of the activity and a good way to keep older kids curious and asking questions.
It is also worth doing this experiment somewhere easy to clean. If the balloon comes off early or the reaction is strong, you may end up with vinegar and foam on the table. A kitchen counter or a spot outside works well. Speaking of outside, outdoor learning is a great context for messy experiments like this one.
What to talk about afterward
Once the balloon is inflated, take a moment to talk through what happened. Ask your child what they noticed. Did the bottle feel cold or warm? Did anything change in how the liquid looked? Encouraging kids to describe what they observed builds vocabulary and scientific thinking at the same time.
You can also talk about where carbon dioxide shows up in everyday life. It is in fizzy drinks, which is why they bubble when you open them. It is what we breathe out. It is what causes bread to rise when yeast is active. Connecting the experiment to familiar things helps kids hold onto what they learned. For more ways to bring science into everyday moments, there are plenty of low-prep ideas worth trying.
More experiments to try next
If your child enjoyed watching the balloon inflate, there are several other experiments that use a similar mix of simple materials and visible results. The lava lamp experiment uses oil, water, and a fizzing tablet to create a mesmerizing effect that kids ask to repeat again and again. The static electricity experiment uses a balloon in a completely different way, showing how charge can make things move without touching them. Both are easy to set up and produce a clear, satisfying result.
The bubble snake experiment is another favorite for younger kids who are not quite ready for the speed required in this balloon experiment. It is slower-paced and gives children more time to observe what is happening. All of these activities work well as part of a science afternoon at home or as an introduction to science concepts before school begins.
Why experiments like this one matter
Hands-on experiments give children a reason to ask why things happen. That curiosity is one of the most valuable things to cultivate early. When a child sees a balloon inflate on its own, they want to understand it. That natural motivation is the starting point for real learning. You do not need a lab or expensive materials to support it. A bottle, a balloon, and two things from your pantry are enough to spark a genuine moment of discovery.
The self-inflating balloon experiment is one of those activities that looks impressive but is genuinely easy to pull off at home. Try it once and you will likely find yourself doing it again with a slightly different ratio, just to see what changes.


Leave a Reply