
A snow volcano experiment is one of the simplest science activities you can do with kids in winter. It combines outdoor play with a real chemical reaction, and it works for a wide range of ages. All you need is baking soda, vinegar, snow, and a few basic supplies from your kitchen. The whole setup takes just minutes, and the payoff is a fizzing, bubbling eruption that kids want to repeat over and over.
This is a great activity to pull out on a cold day when you want to get outside but also want to make it feel purposeful. It fits naturally into a unit on earth science, rocks, or volcanoes. It also works perfectly as a standalone afternoon activity with no prep required.
What is a snow volcano experiment?
At its core, this experiment is a classic baking soda and vinegar reaction, built inside a snow volcano. You shape snow around a small cup or container to form the volcano. Then you mix a baking soda slurry, pour it in, and add vinegar. The result is a fizzing eruption that overflows down the sides of the snow.
The science behind it is straightforward. Baking soda is a base, and its chemical name is sodium bicarbonate. Vinegar is an acid, specifically acetic acid. When you combine the two, they react and first produce carbonic acid. That compound is unstable, so it immediately breaks down into carbon dioxide gas and water. The carbon dioxide is what causes the bubbling and fizzing you see. When you add dish soap to the mix, the bubbles become larger and last longer, which makes the eruption look more dramatic.
Adding this experiment to a broader science for kids exploration is a great idea. It introduces kids to the concept of chemical reactions in a hands-on, low-stakes way. You can keep it simple for younger children, or go deeper with older kids by talking through what is actually happening at a molecular level.
What you need for a snow volcano
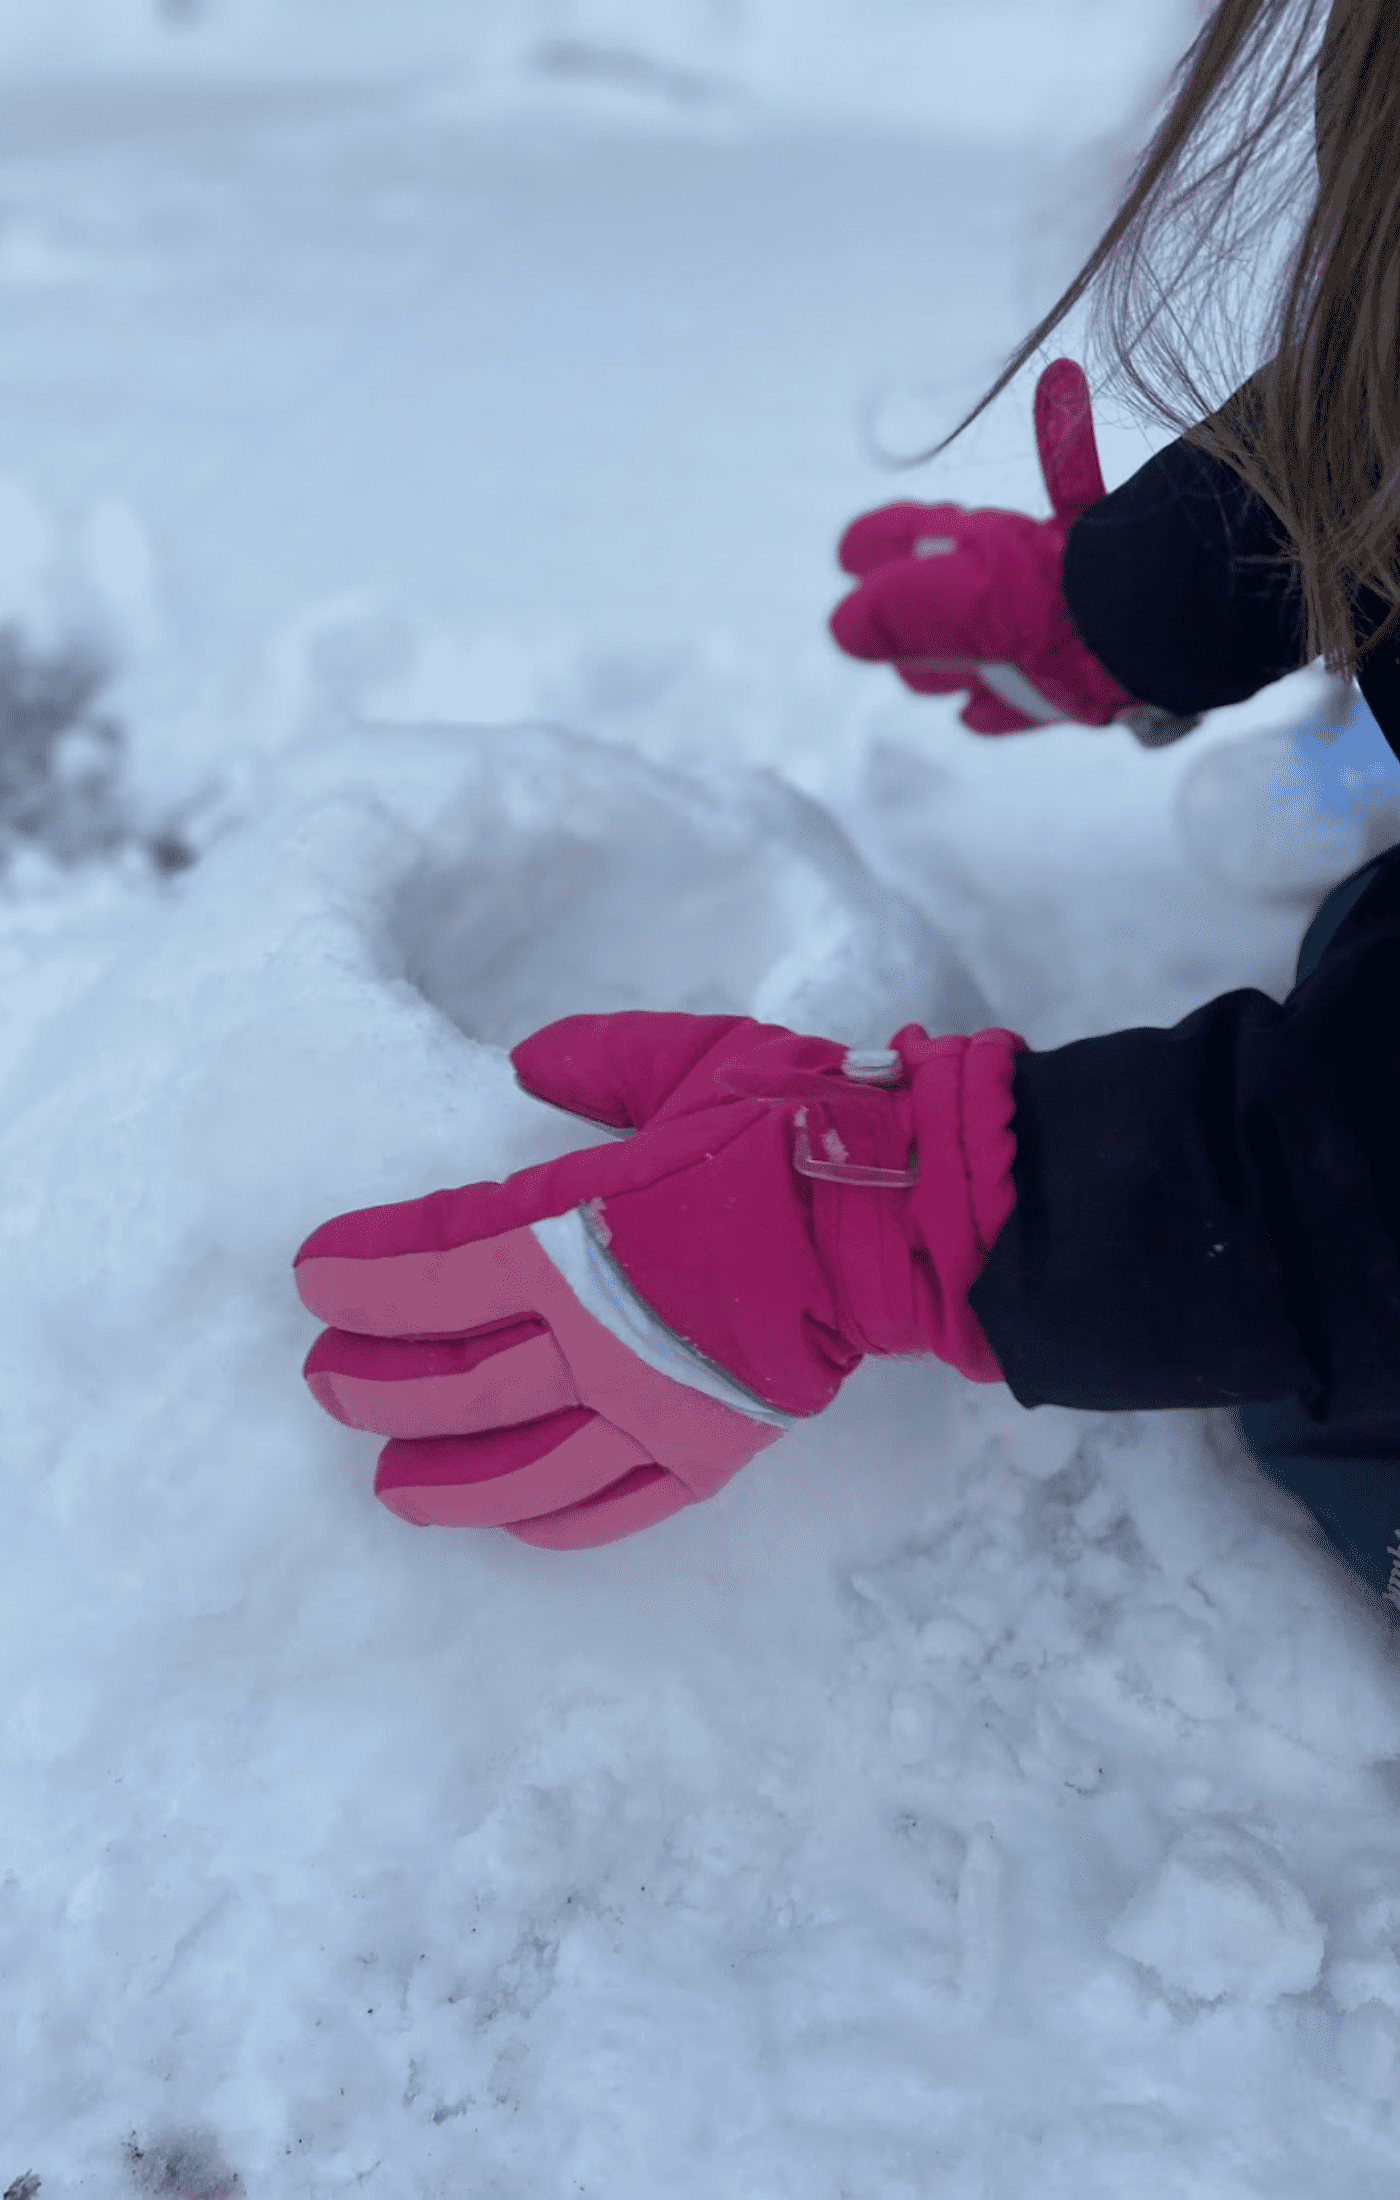
You do not need much to make this work. The core ingredients are baking soda, white vinegar, warm water, and dish soap. For the volcano structure, you need a small cup or container to act as the base, plus enough snow to pack around it. You also need a second container for mixing your slurry, and a spoon.
For the slurry, use half a cup of baking soda, a quarter cup of warm water, half a cup of white vinegar, and one tablespoon of dish soap. These amounts work well for a standard-sized snow volcano. You can scale up if you want a bigger eruption or plan to do multiple rounds.
A few drops of red food coloring in the vinegar make the eruption look like lava. You can let your child choose the color, or mix a couple together. This step is optional but it adds a lot of visual excitement, especially for younger kids.
Pop Rocks candy is another optional addition. You can drop a few into the volcano base before the eruption. The popping sound adds another sensory layer to the reaction, and kids find it genuinely surprising. That said, the experiment is just as fun without them.
Do you need soap and food coloring?
Neither ingredient is required for the chemical reaction to work. The baking soda and vinegar will react on their own without any additions.
Dish soap extends the reaction and creates more foam. It traps the carbon dioxide gas inside bubbles, which makes the eruption look bigger and last a little longer. I have done this experiment many times without it, and it still works well. But if you want a more dramatic result, include the soap.
Food coloring is purely visual. Red is the obvious choice if you want it to look like lava. You can also try orange or a mix of the two. A few drops go a long way.
How to make a snow volcano step by step
Start by choosing your location. You can build the volcano directly in a snowbank, or set a container upside-down on the snow and build the volcano shape around that. Both approaches work. Building in an existing snowbank gives you more snow to work with. Using a container on top of the snow gives you more control over the base structure.
Place a small cup or container in the center of your volcano. Pack snow tightly around it to form the cone shape. Pack it as firmly as you can, especially near the top. The denser the snow, the better it holds its shape when the lava hits it. Make sure the top of the cup stays open and clear of snow.
If any snow falls into the cup, remove it. Snow inside the cup will dilute the reaction and reduce the effect of the eruption.
In a separate container, mix the baking soda, dish soap, food coloring, and water together with a spoon. Add the water last, and only use enough to make the mixture pourable. If it becomes too thin, stir in more baking soda. You want a thick, pourable slurry, not a watery liquid.
Pour the slurry into the volcano cup. Then pour the vinegar in on top. Step back and watch the eruption happen.
What to do when the eruption stops
The reaction does not last long. Carbon dioxide is produced quickly and then the supply runs out. That is normal and expected. The good news is that you can easily restart it.
First, try pouring more vinegar into the cup. There is usually some baking soda left at the bottom, and adding vinegar will trigger another round of fizzing. If that does not produce much reaction, add more baking soda slurry and then more vinegar.
Between rounds, check the snow structure. The warm lava mixture will melt the snow near the top of the volcano. Pack fresh snow back into place before you do another eruption. This keeps the shape intact and makes each round look just as good as the first.
Most kids are happy after two or three eruptions. A few will want to keep going until you run out of supplies. Either way, the clean-up is easy since everything is biodegradable and the snow will absorb most of it.
How to make the most of this experiment
For preschool-aged kids, the focus can be entirely on the sensory experience. Watch it bubble. Touch the foam. Talk about what you see and smell. That is plenty of learning for a three or four year old.
For older kids, you can introduce more structure. Before you start, ask them what they think will happen when you mix the two ingredients. Have them record their prediction. After the eruption, talk about whether their prediction was right. This is a simple way to introduce the scientific method without making it feel like a lesson.
You can also connect this to a larger unit. If you are studying volcanoes, rocks, or earth science, this experiment fits right in. It gives kids a physical reference point for understanding how real volcanic eruptions work, even if the chemistry is not exactly the same. Pairing it with books or videos about real volcanoes can extend the learning further.
If you are looking for more structured activities, check out the full collection of science activities for preschoolers on the site. There are plenty of hands-on experiments that work just as well indoors or out.
More experiments to try
If your child loved the snow volcano, there are plenty of other simple experiments worth trying. The self-inflating balloon experiment also uses baking soda and vinegar, so it is an easy next step. The ice insulation experiment is another great winter option that kids find genuinely interesting. For something with a dramatic visual payoff, the lava lamp experiment is always a hit.
You can find a full list of ideas in the 50 simple science experiments for kids collection. There is something in there for every age and season.
Frequently asked questions
Can you make a volcano in the snow?
Yes. Pack the snow tightly around your base cup so it holds its shape during the eruption. Dense, well-packed snow works much better than loose powder.
How do you make a snow volcano erupt?
Mix baking soda, water, and dish soap into a slurry and pour it into the volcano cup. Then add white vinegar. The acid and base react to produce carbon dioxide gas, which creates the fizzing, bubbling eruption.
Does the experiment work without soap?
Yes. The soap makes the eruption foamier and slightly longer-lasting, but the chemical reaction happens with or without it. If you do not have dish soap on hand, skip it and the experiment will still work fine.
What age is this experiment for?
It works for a wide range of ages. Toddlers and preschoolers enjoy watching the eruption and touching the foam. School-age kids can help mix the ingredients and track their observations. Older kids can go deeper into the chemistry and compare it to real volcanic activity.


