
A photo string display is one of the simplest ways to bring personality to a plain wall. We put one up for our daughter’s sip and see party and liked it so much that it stayed up long after the guests went home. It now lives as a regular part of our decor, and we swap out the photos whenever we feel like a change.
If you want to make your own, here is everything you need to know.
Why a photo string works so well
What I like most about this kind of display is that it is personal without being permanent. You are not drilling a gallery wall into the drywall. You are not committing to one set of frames. You can add a new photo from last weekend’s camping trip, pull out an old one, or switch the whole thing out for a holiday theme. It stays fresh because you control it.
It also works really well at parties. When guests arrive, they have something to look at and talk about. Photos of shared memories give people an easy way to start a conversation. I find it much more meaningful than a generic balloon arch.
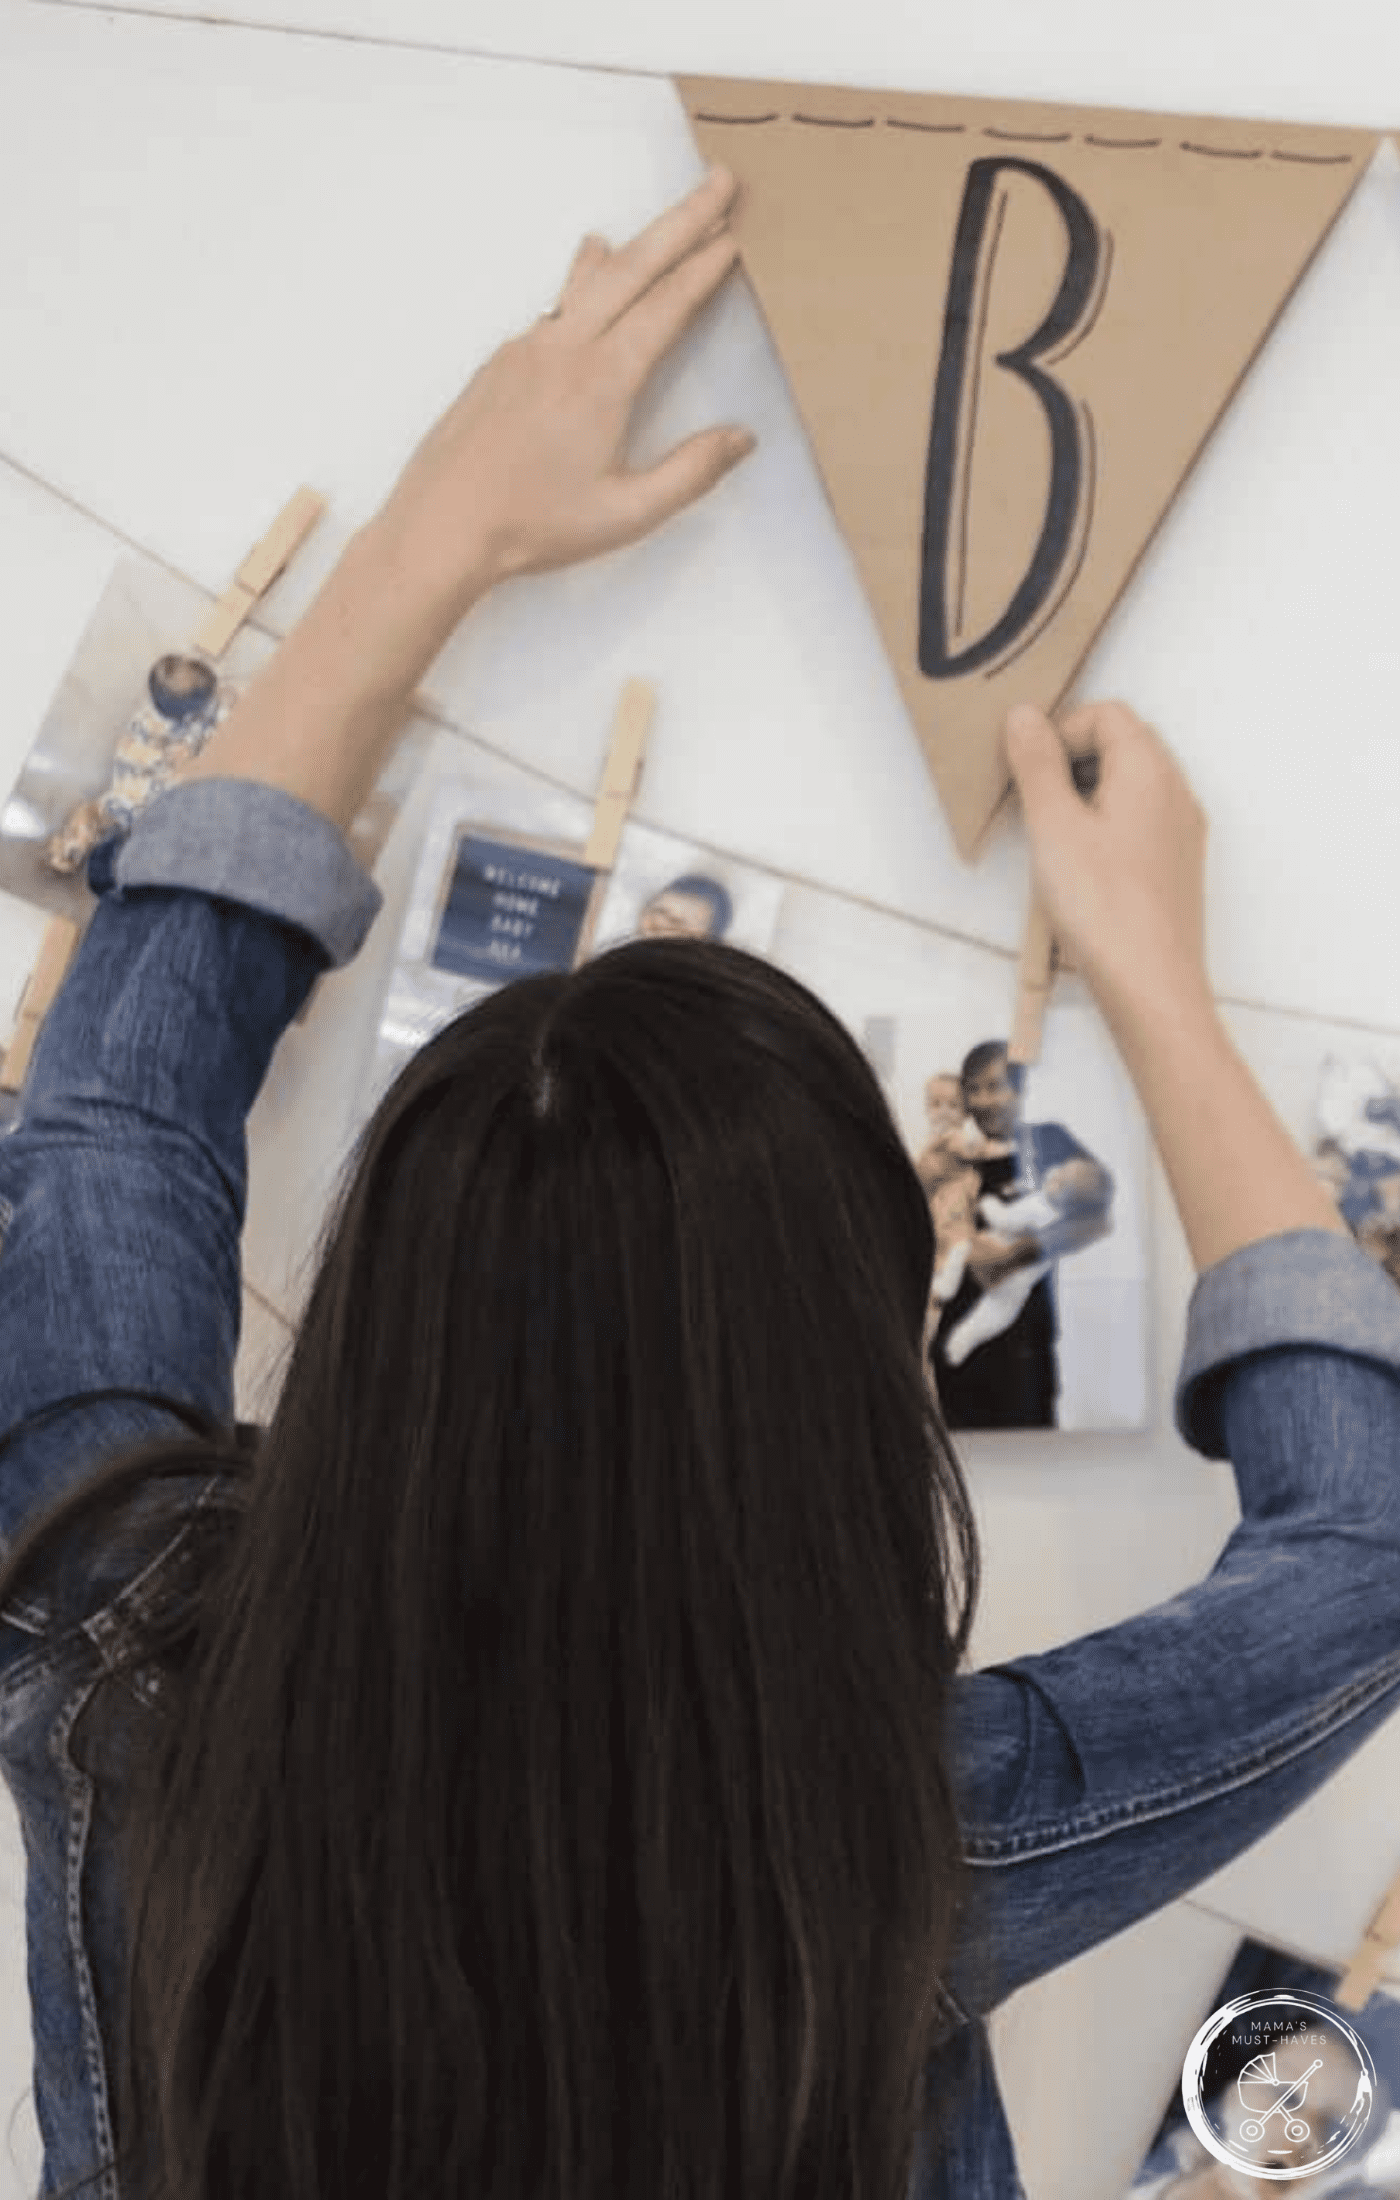
My aunts helped put this one together, and one of them hand-drew the title letters onto bunting made from recycled paper grocery bags. You do not have to include a title, but it does give the display a finished look and ties the photos together around a theme.
What you need
The supply list for this project is short and inexpensive. You will need small Command hooks, jute twine, wooden clothespins, and printed photos. For the bunting title, you need brown paper bags, scissors, and a black marker. If you want to add some warmth to the display, a set of string lights works beautifully too.
A quick note on the bunting material: brown paper bags are what we used, but burlap works just as well. I have made bunting from burlap before and painted the letters on with acrylic paint. It gives a slightly different look but holds up well. Use whatever fits your theme or what you already have on hand.
The number of bunting flags you need depends on how long your title word or phrase is. Plan it out before you cut.
How to put it together
Hang the hooks and string the twine
Start by placing a Command hook at each end of the wall where you want the display to hang. Follow the instructions on the package carefully, especially the wait time before adding any weight. We attached ours to our in-wall speakers, which gave us a solid anchor point.
If you are sticking hooks directly onto painted drywall, choose hooks that are rated for clean removal. You can also use small nails or tacks along the top of a molding where the holes will not be visible. Use whatever makes sense for your wall.
Once the hooks are in place, cut your twine and tie it between them. We ran three strands: one higher strand for the title bunting and two lower strands for the photos. Keep in mind that the clothespins and photos will pull the twine down slightly, so tie it a little tighter than you think you need to.
Attach the photos
Print your photos before you start. Standard 4×6 prints work well, but any size that fits your clothespins will do. To attach each photo, lay the twine across the top back of the photo and clamp the clothespin over both the twine and the photo at the same time. This is more secure than threading the twine through the open part of the clothespin, which lets photos slip and tilt.
Arrange the photos as you go. You can space them evenly or cluster them in groups. There is no wrong way to do it.
Make the bunting title
Cut your bunting flags from brown paper bags. Each flag should hang over the string, so it needs both a front flap and a back flap. Use the existing bottom seam of the bag as the top fold of the flag. The flat front panel of the bag becomes the front of the flag, and the bottom of the bag becomes the back. This way the flag folds neatly over the twine and stays in place.
Write one letter per flag using a black marker. Keep your letters large and bold so they are easy to read from across the room. Once all the letters are done, slide them onto the top strand of twine in order and space them evenly.
Add string lights if you want
This step is completely optional, but it makes the display look really warm in the evening. String lights or fairy lights are easy to find at dollar stores or online. Once your twine strands are in place, loosely wrap the lights along them. You do not need to weave them in tightly. Just a loose drape is enough to give a soft glow.
Keeping it going after the party
One of the best things about this display is how easy it is to maintain. You do not need to redo the whole thing to keep it feeling current. Just swap out a few photos every month or so. We have added artwork, small cards, and handwritten notes to ours over time. It has become a small, rotating collection of things we want to remember.
This kind of home decor idea is also great for seasonal updates. Swap in holiday photos in December, vacation shots in summer, or school photos in the fall. The display stays the same. The content changes with your life.
If you are looking for more ways to organize and personalize your home, the household organization section of the blog has a lot of practical ideas worth browsing. And if you are planning a party and want more inspiration for the setup, the party planning ideas page is a good place to start.
The total cost and time
If you already have twine and clothespins at home, you can put this together for just a few dollars. The Command hooks and paper bags are inexpensive. The photos are the main cost, and even those are affordable if you use a local drugstore or an online print service. The whole project takes about 20 to 30 minutes once you have everything ready, not counting the time it takes for your photos to be printed.
It is one of the most low-effort, high-impact things you can do to a blank wall. Print some photos, tie some twine, and you have something genuinely personal hanging in your home.


Leave a Reply