
The sink or float experiment is one of the simplest science activities you can do with young children. All you need is a container of water and a handful of objects. Kids drop each item in and watch what happens. That’s it. And yet, there is real science behind every splash.
This activity introduces children to the concepts of density and buoyancy in a way they can actually see and touch. It also follows the basic steps of the scientific method: observing, predicting, testing, and drawing conclusions. You don’t need to use those exact terms with a preschooler, but the thinking process is there all the same.
What the sink or float experiment teaches
When an object floats, it means the water is pushing up on it with enough force to hold it up. When an object sinks, it means the object is denser than the water around it. For young children, you don’t need to go deep into the physics. Asking “why do you think that one floated?” is enough to get them thinking.
For older children, you can introduce the word density and talk about why a heavy piece of wood floats while a small metal bolt sinks. You can ask them to predict what will happen before they test each item, and then talk about whether they were right. This kind of hands-on science for kids builds observation skills and teaches children that it’s okay when a prediction turns out to be wrong. That’s how real science works.
The age of your child will shape how you talk about the experiment. With a three-year-old, simple language works best. With a six or seven-year-old, you can start asking more detailed questions about why certain materials behave the way they do.
What you’ll need
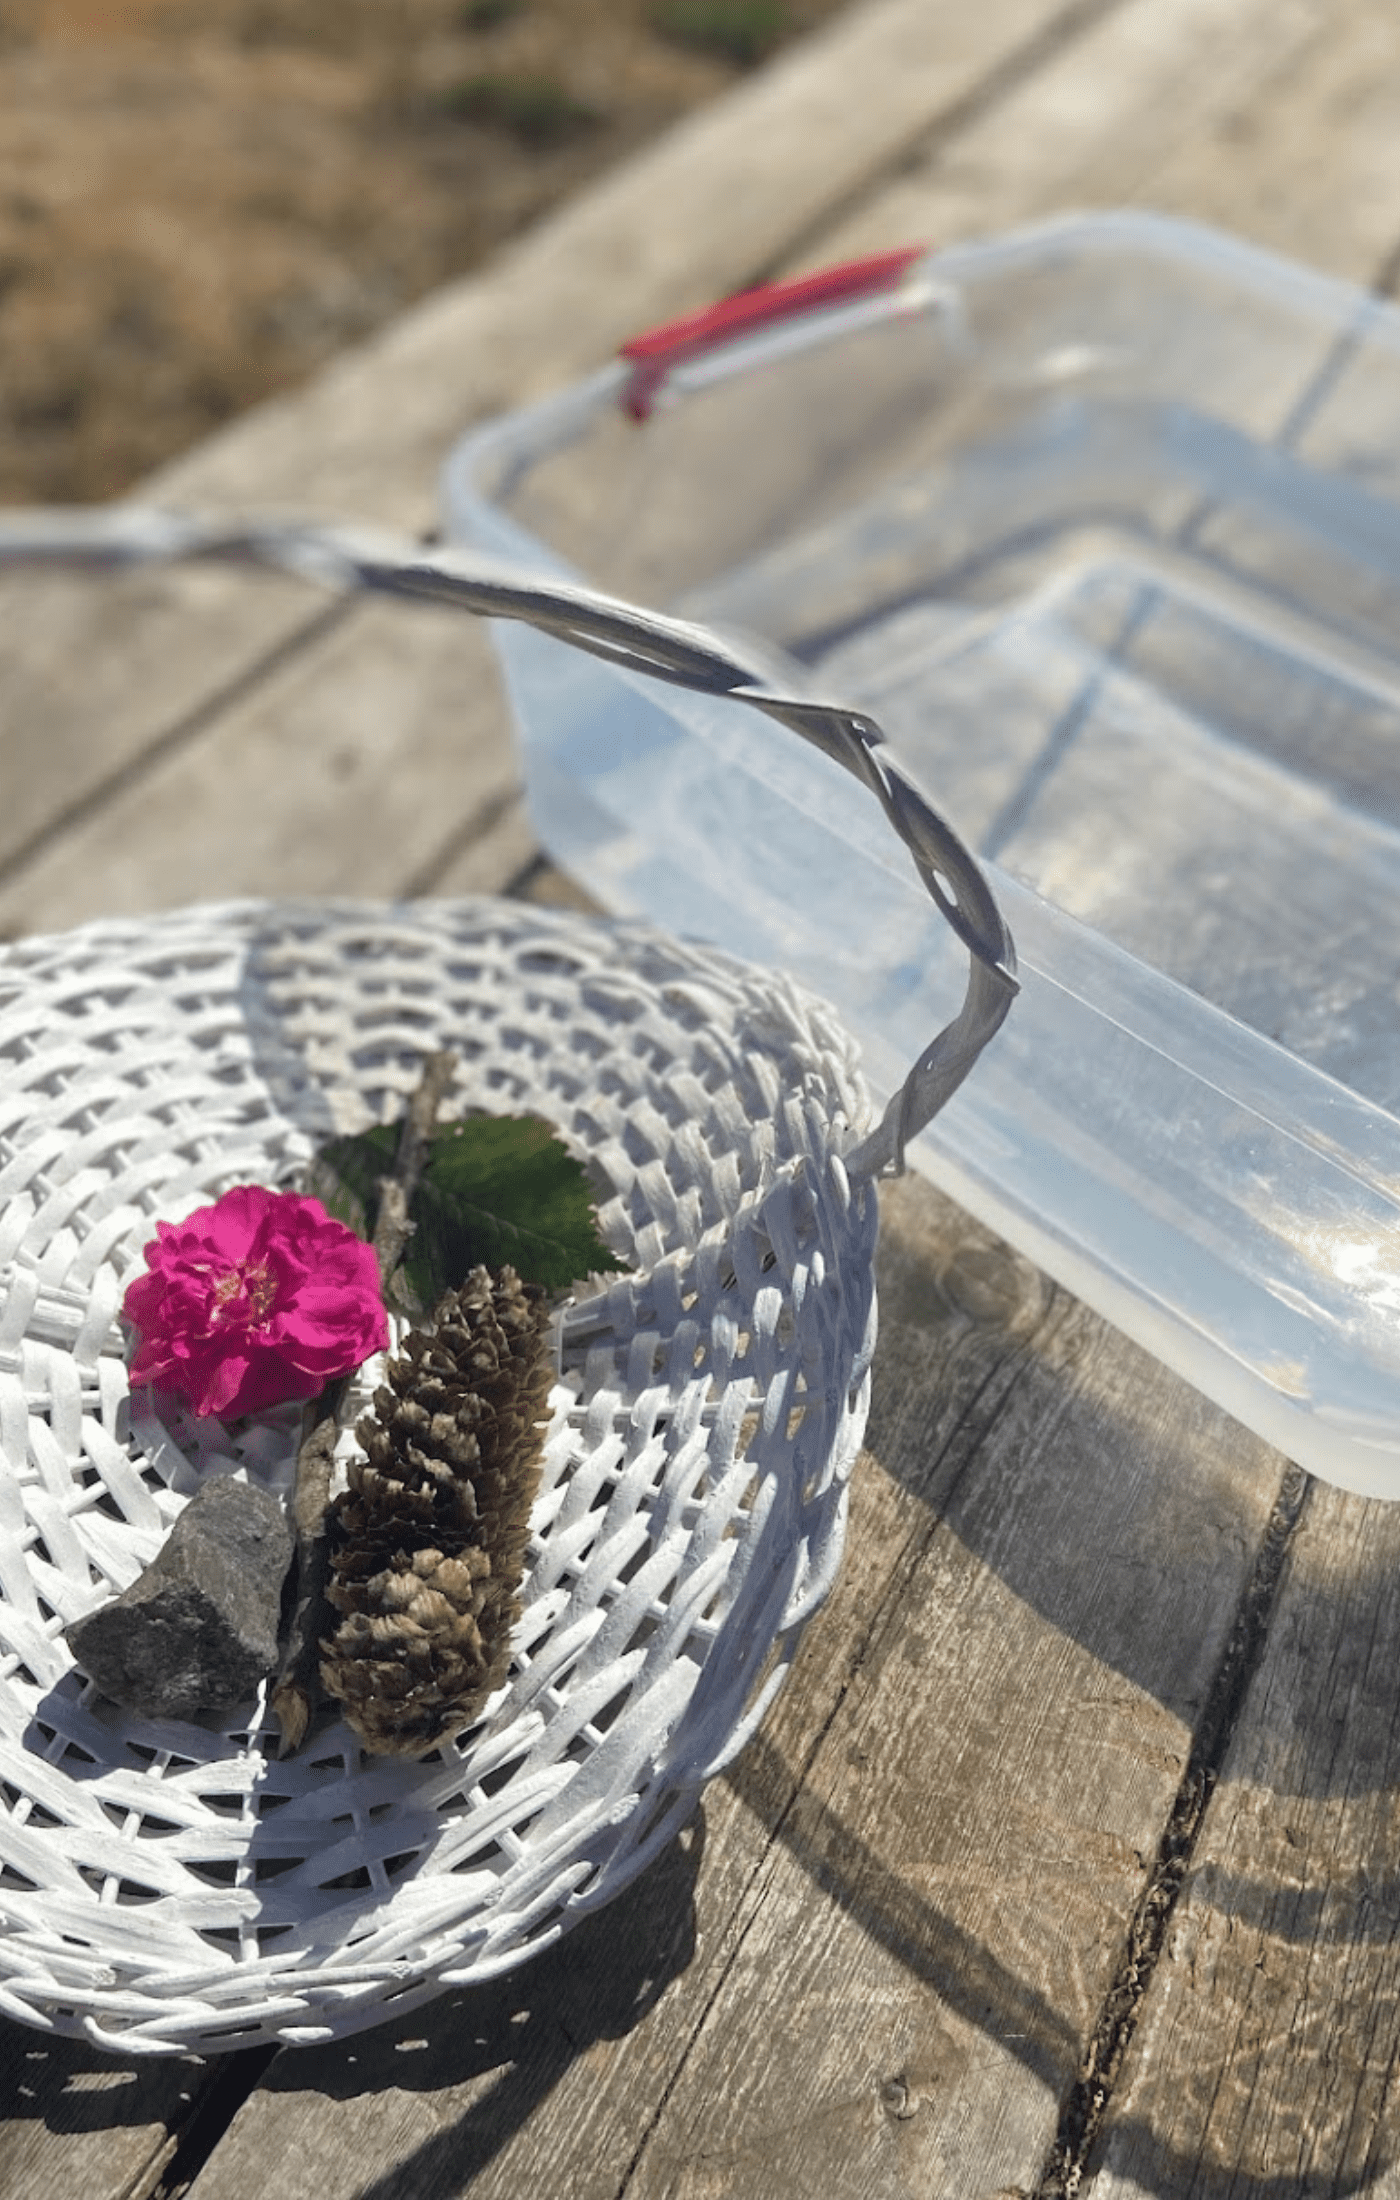
The materials for this experiment are flexible. That’s part of what makes it so accessible. You need one or two containers filled with water, and a collection of objects to test. A large bowl, a bucket, a plastic bin, or even the kitchen sink all work well.
For the objects, let your child gather what interests them. Natural items like a rock, a stick, a leaf, a pinecone, and a flower are great starting points. You can also add household items like a plastic spoon, a coin, a wooden block, or a small rubber toy. The goal is variety. You want a mix of items that will produce different results so children see that size alone doesn’t predict what will happen.
One practical note: keep screens and anything electronic well away from the water. The activity works best when kids feel free to test things without worrying about what’s off limits.
Sink or float worksheet
This experiment works well on its own, but a simple worksheet can add structure if you want it. A prediction chart lets children draw or write the name of each object and circle whether they think it will sink or float before testing. After testing, they record what actually happened.
You can download a free sink or float worksheet from my Teachers Pay Teachers store. There is also a free scientific method worksheet available there if you want to focus more on walking children through each step of the process. Both are straightforward and work well for home or classroom use.
How to run the experiment
Start by filling your container with water and setting it on a stable surface. If multiple children are participating, a container for each child helps avoid crowding and keeps everyone engaged at the same time.
Ask your child to choose an object. Before they drop it in, ask what they think will happen and why. Encourage them to give a reason, even a simple one. Then let them test it and observe the result. Repeat this process for each object.
Keep the pace relaxed. Children naturally want to slow down and poke at things, hold them under the water, or try placing them in different positions. That curiosity is worth following. These little detours often lead to better observations than a strictly structured test would.
Once all the objects have been tested, take a few minutes to talk about what they noticed. Which items floated? Which ones sank? Did anything surprise them? Did they change their mind about what would happen partway through? This conversation is where a lot of the real learning happens.
Extending the experiment
Once kids have worked through the basic activity, there are a few simple ways to take it further. One of the most popular extensions is the aluminum foil boat challenge. Give your child a small sheet of aluminum foil and ask them to shape it into a boat. Then place it on the water and see how many pennies or small objects they can load onto it before it sinks. This builds on the same concepts of density and buoyancy while adding an engineering element.
You can also try changing the water itself. What happens when you add a lot of salt to the water? A raw egg that sinks in fresh water will float in very salty water. This simple twist introduces the idea that the liquid matters, not just the object.
For a math connection, try graphing the results. Draw two columns on a piece of paper, label them “sink” and “float,” and have your child place a tally mark for each object. This pairs nicely with preschool math concepts like counting, comparing, and sorting. You could also pair it with a preschool sorting activity before or after to reinforce the same thinking skills.
If your child enjoys nature-based activities, gathering objects from outside adds another layer to the experience. A nature walk before the experiment gives children ownership over what they test. You can also pair this with a 5 senses nature walk to make it a longer outdoor learning session.
Tips for running it smoothly
A few small things make this experiment go more smoothly. Set up near a drain or outdoors if possible, since water tends to go everywhere. Have a towel nearby. Use a container with sides tall enough to contain splashes.
If you’re doing this indoors, put a plastic tablecloth or a few old towels under the container before you start. Children will want to reach in, stir the water, and retrieve objects repeatedly. That’s fine, but it usually means some water ends up on the floor.
Keep the object list manageable. Testing five to eight items is usually enough for a preschooler before attention starts to drift. For older children, you can expand the list or introduce rounds with different categories of objects.
Why this experiment is worth doing
Simple experiments like this one do more than teach science facts. They teach children how to think. Making a prediction, testing it, and then reflecting on the result is a skill that transfers to every subject and every stage of life.
There are many simple science experiments for kids that follow this same format. The sink or float experiment is a good starting point because the results are immediate and clear. There is no waiting, no complex setup, and no ambiguity. The object either floats or it doesn’t. Children can see the outcome the moment they let go.
It’s also an experiment that children want to repeat. Once they’ve tested everything in the first round, they’ll start looking around for more things to test. That curiosity is exactly the right response.
More experiments to try next
If your child enjoyed this activity, there are plenty of other experiments worth trying. The what melts ice the fastest experiment is another hands-on activity with clear, visible results. The which color absorbs the most heat experiment is a great next step for kids who are ready for a slightly more complex setup. And the volcano experiment for kids is always a reliable hit if you want something with a bit more drama.
All of these activities follow the same basic approach: ask a question, make a prediction, test it, and talk about what you observed. The more children practice this process, the more natural it becomes.


Leave a Reply