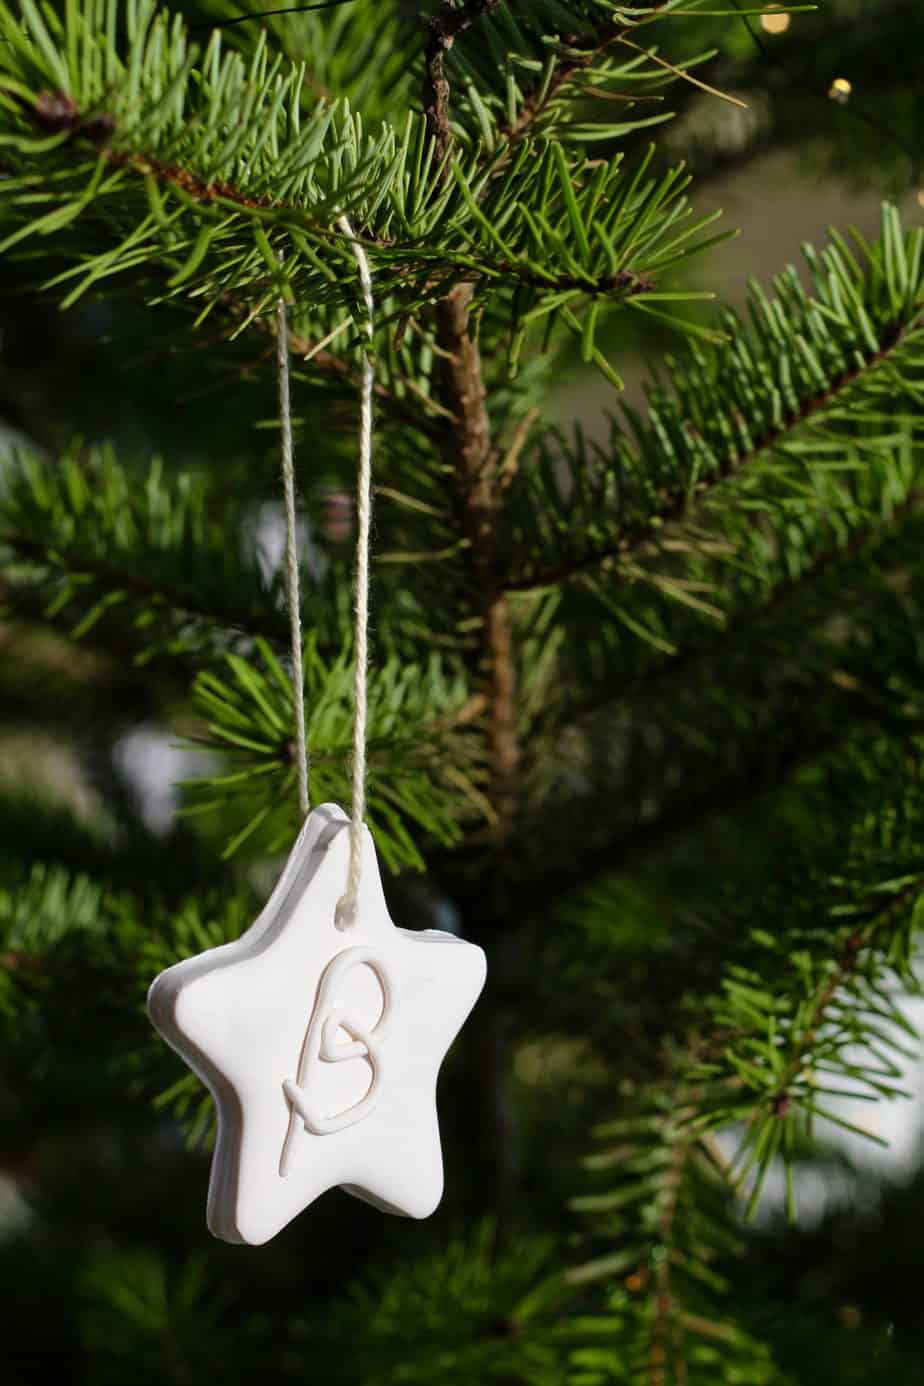
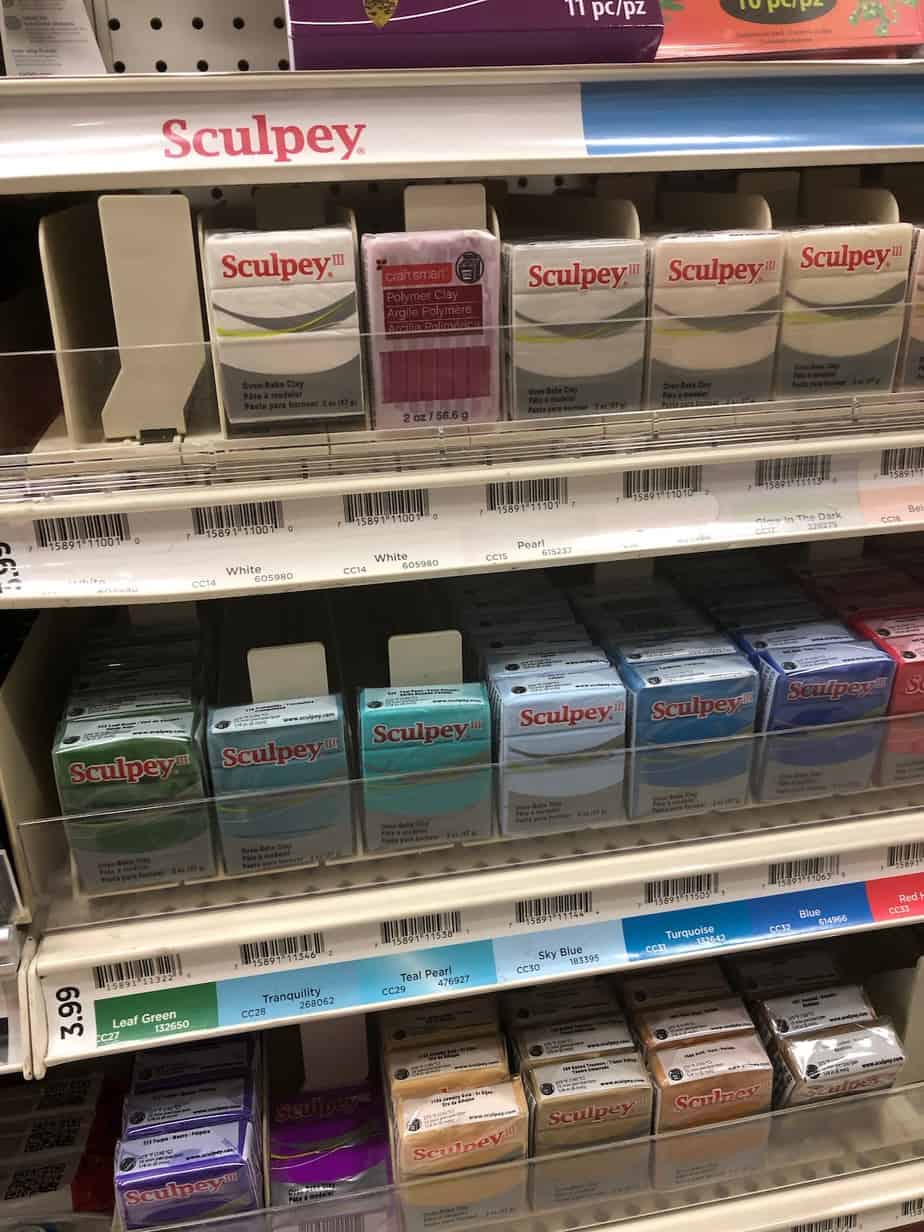
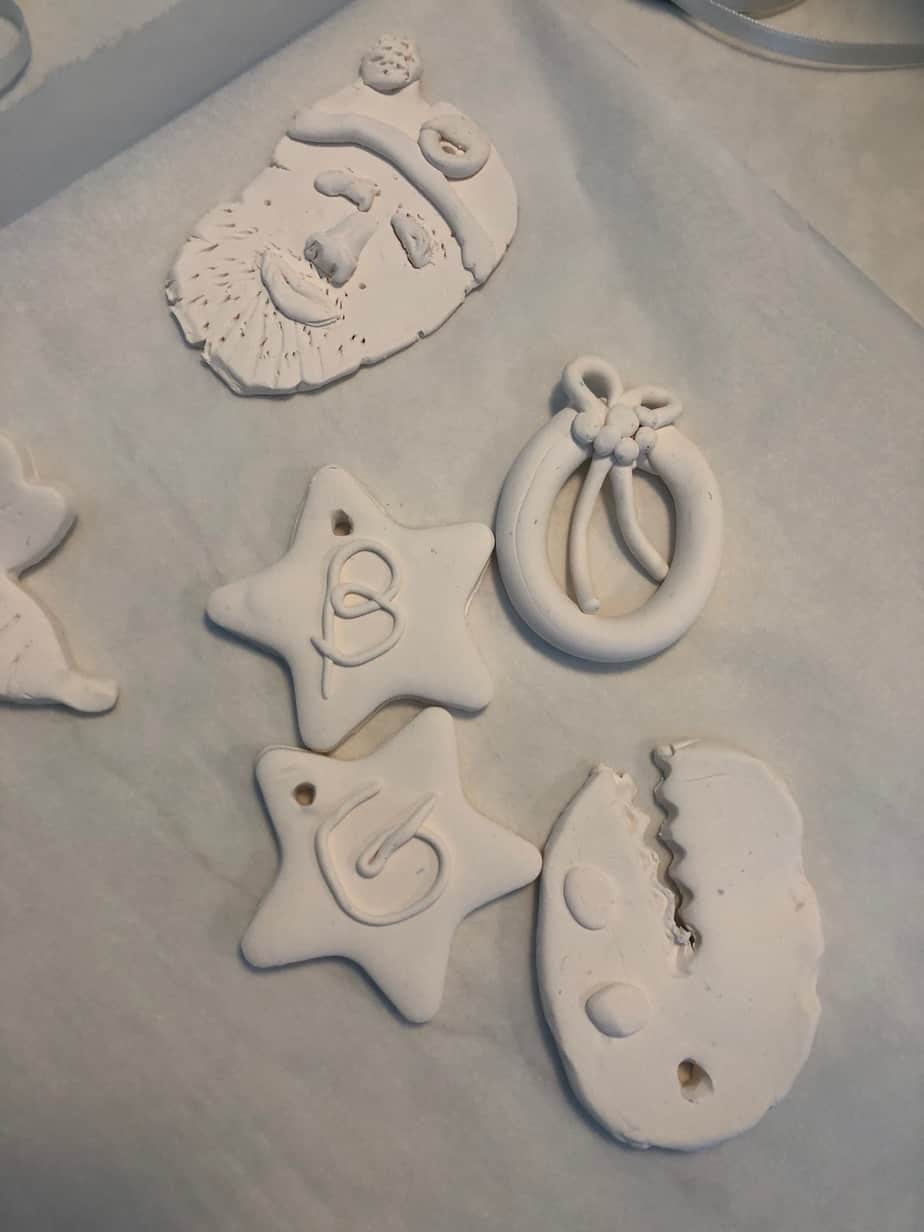
These children’s clay Christmas ornaments were a lovely project for my daughter and her Nana to make together during the holiday season. We chose a high-quality Sculpey polymer clay so that the ornaments will hopefully last for years. We just did plain white for these kids’ tree ornaments, but there are lots of colors of clay available! Keep reading to see how we made them.
These are also one of the 14 adorable Christmas crafts for kids that we’ve made lately!
Supplies for Children’s Clay Christmas Ornaments
December is a great time for crafting. Making ornaments for the tree is a fun way to add a personal touch to your festive decorations (and keep the little ones busy!).
Here are the supplies you’ll need to make children’s clay Christmas ornaments:
- Sculpey polymer clay (we used Preemo line clay in white)
- You can also get air-dry clay! Crayola has super soft clay that would work for this.
- Craft mat (we use a Gathre mat)
- Playdoh modeling clay tools
- You’ll likely use cookie cutters, a rolling pin, and various cutters like knives and scissors. Just make sure the tools are kid-friendly, of course!
- Toothpicks
- Parchment paper
- Baking sheet
- Ribbon
Get your supplies ready before starting this craft project with the kids!
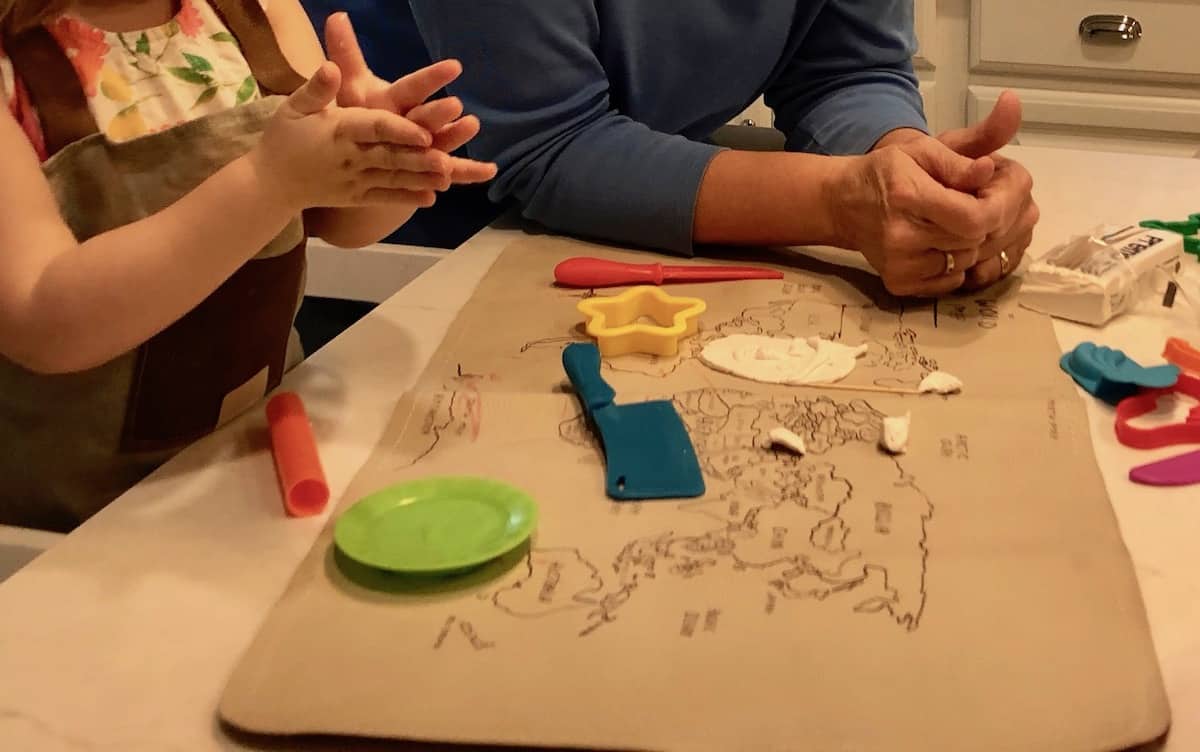
How to make children’s clay Christmas ornaments
Here are the steps for making your own children’s clay Christmas ornaments:
- Unwrap the clay and cut a small piece of clay off the block. Start with about enough clay for one ornament.
- The clay needs to be “conditioned”, which means it needs to be worked – kind of like kneading bread. Roll out and re-roll the clay to encourage it to become malleable. As your hands warm the clay, it will become easier to work with.
- Use a Playdoh roller to roll the worked clay into a flat pancake-like disc. Polymer clay does well in a 1/4″ thickness, but thicker or thinner is generally ok too.
- Use a Play-Doh shape or cookie cutter to cut out the shape of an ornament. Or, freeform create an ornament all on your own!
- Use the leftover bits of clay to add embellishments and decorate the ornament if you like.
- Make a small hanging hole in the top of the clay ornament using the toothpick. You could also use a straw. This will be the hole from which the ornament hangs from the tree. The hole should be big enough so that the ribbon will fit through it after the clay is baked.
- Make sure the hole isn’t too close to the top of the ornament!
- Get an adult to oven-bake the clay on a cookie sheet according to package directions. Let sit until cool.
- If you use air-drying clay you’ll be able to skip this step. But, make sure it is completely dry before you hang it up!
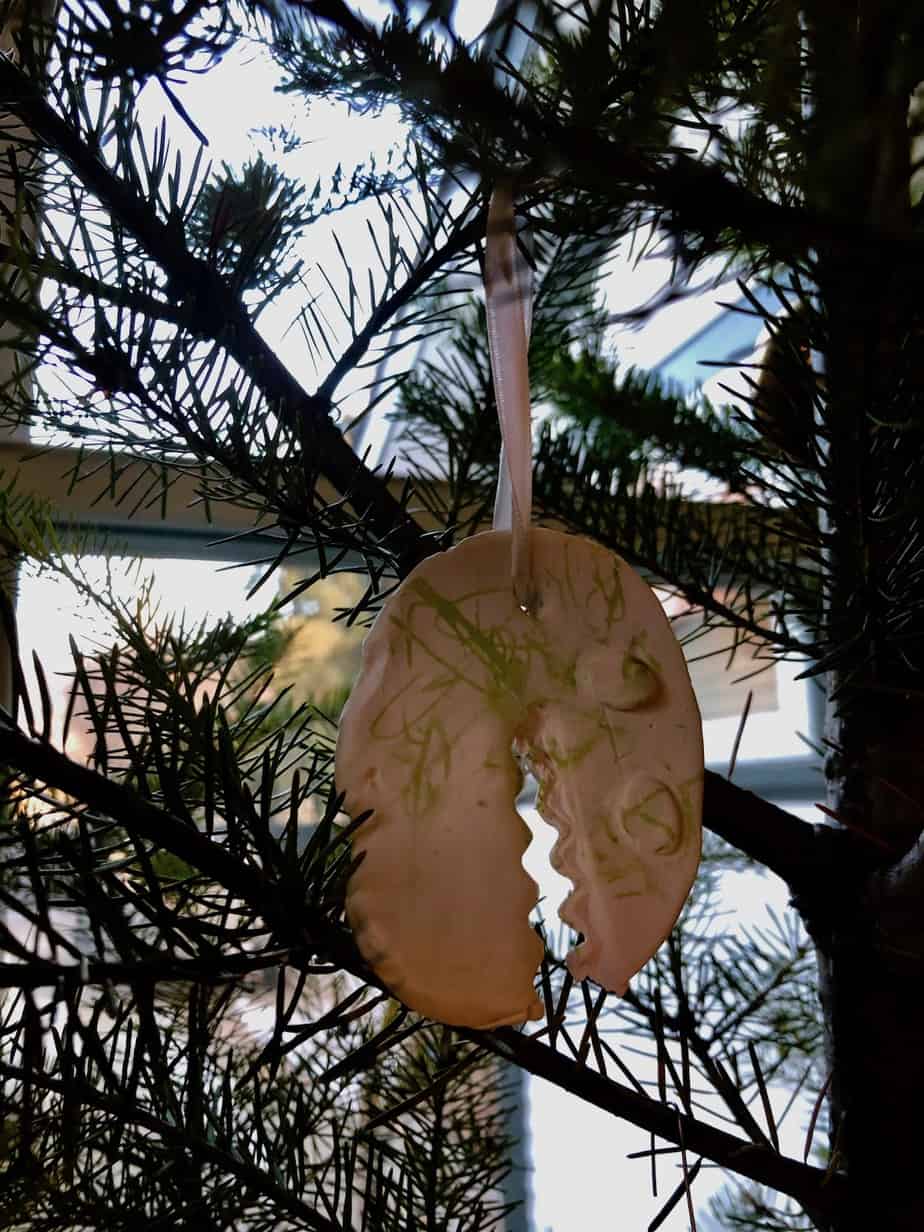
- Thread a piece of ribbon through the hole to create a loop for hanging the ornament.
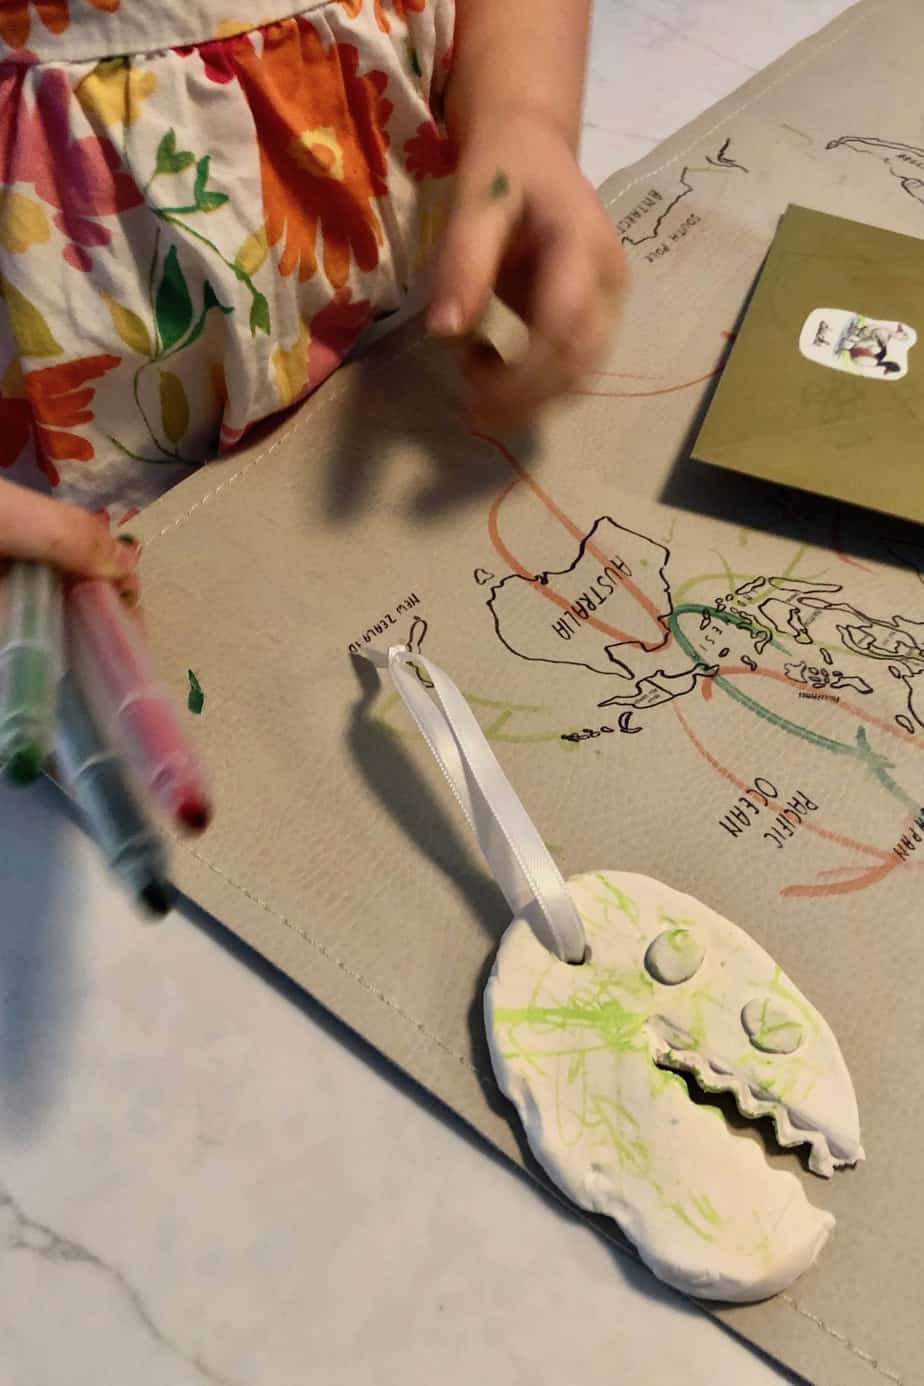
If the kids would like, you could decorate the ornaments more after they are dry by painting them (or coloring on them, like my daughter did. You could also add glitter to give it some sparkle. Let your kiddos be creative and explore their artistic ideas!
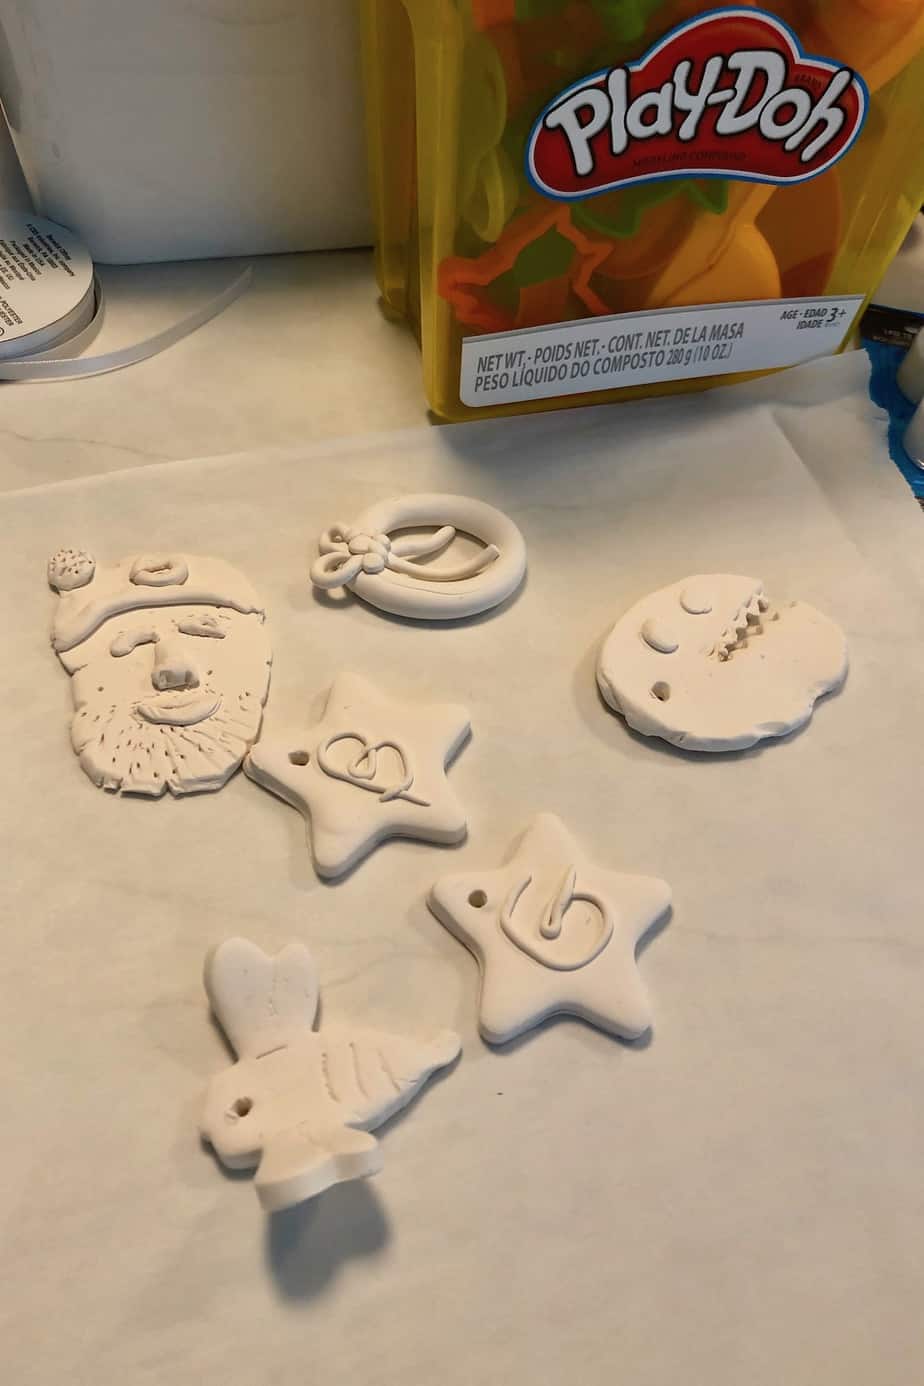
*Note: Our ornaments were mostly free-form, but we did make two star ornaments from star cutouts. If you want to make a lot of ornaments, you could just use Christmas cookie cutters (or whichever shapes you have on hand). This is much quicker!
That’s it! That’s how to make super simple children’s clay Christmas ornaments!
Have you made clay ornaments to celebrate the Christmas season? We would love to see your craft projects!
Also – We’ve been crafting up a storm this month! Here are some other crafts we’ve made:

Leave a Reply